

Have you ever stared at a tiny electronic part and wondered what it really does? Knowing how to identify electronic components can save you time, money, and frustration.
Whether you’re fixing a gadget or building a project, understanding these parts is key. You’ll discover simple tips and tricks to recognize common components quickly and confidently. By the end, you’ll feel ready to tackle any circuit with ease. Keep reading—your next electronic breakthrough starts here.
Types Of Electronic Components
Understanding the types of electronic components is essential for anyone working with circuits or devices. Knowing how to identify and categorize them can save you time and prevent errors. Let’s look at the three main types: active, passive, and electromechanical components.
Active Components
Active components are the parts that control the flow of electricity and can amplify signals. They require an external power source to operate. Common examples include:
- Transistors– used for switching and amplification.
- Diodes– allow current to flow in one direction only.
- Integrated Circuits (ICs)– tiny chips that can perform complex functions.
Have you ever noticed how a small transistor can control a large current? This power to influence signals makes active components the “brains” of many electronic circuits.
Passive Components
Passive components don’t require power to function and cannot amplify signals. Instead, they manage the flow of current and store energy. The most common passive components are:
- Resistors– control current by providing resistance.
- Capacitors– store and release electrical energy.
- Inductors– store energy in a magnetic field when current passes through.
Think about how a resistor adjusts the brightness of a light bulb by limiting current. Simple components like these have a huge impact on circuit behavior.
Electromechanical Components
Electromechanical components combine electrical and mechanical processes. They often involve moving parts that interact with the electrical system. Some examples are:
- Relays– switches operated by an electrical signal.
- Switches– manually or automatically open and close circuits.
- Motors– convert electrical energy into mechanical motion.
Have you ever felt the click of a relay switch? That physical action is what separates electromechanical components from purely electronic ones.

Credit: www.youtube.com
Reading Component Labels
Reading component labels is a crucial skill when working with electronic parts. These labels hold essential details that help you identify the component’s type, value, and specifications. Without understanding these markings, you might end up using the wrong part, which can lead to circuit failure or damage.
Understanding Codes And Markings
Most electronic components have alphanumeric codes printed on them. These codes represent values like resistance, capacitance, or voltage rating. For example, a resistor might show “470” which means 47 ohms with a zero multiplier, or “4K7” meaning 4.7 kilo-ohms.
Capacitors often have codes like “104” indicating 100,000 pF (picofarads). Learning these standard codes saves you time and prevents guesswork. Have you ever struggled to identify a tiny surface-mount resistor? Knowing these markings can make your work faster and more accurate.
- Look for numbers combined with letters
- Check for color bands on resistors
- Use datasheets to confirm ambiguous codes
Deciphering Manufacturer Logos
Aside from codes, many components display a small manufacturer logo. Recognizing these logos can help you trace the origin of the part and check its authenticity. Genuine components from reputable manufacturers often perform better and last longer.
For instance, a “TI” logo indicates Texas Instruments, while “ON” refers to ON Semiconductor. If you’re unsure about a logo, a quick online search can reveal the manufacturer. Have you ever bought parts from an unknown source only to find they don’t work as expected? Identifying logos beforehand can save you from such issues.
Keep a reference list of common logos handy, especially if you order components frequently. This little habit can improve your inventory management and ensure reliability in your projects.
Using A Multimeter
A multimeter is a handy tool for identifying electronic components. It measures various electrical values, helping you find out what each part does. Using a multimeter can save time and avoid guesswork.
It works by connecting its probes to the component and reading the display. Different tests reveal resistance, capacitance, voltage, or current levels. Each value tells you more about the component’s function and condition.
Measuring Resistance
Resistance shows how much a component slows electrical flow. Set the multimeter to the resistance mode (ohms symbol). Touch the probes to each end of the component’s leads. The screen will show a number in ohms.
A low number means low resistance, like a wire or resistor with a low value. A very high or infinite reading often means an open circuit or broken component. Comparing the reading to the component’s color code or datasheet confirms its type.
Checking Capacitance
Capacitance measures a capacitor’s ability to store charge. Switch the multimeter to capacitance mode (often marked with a “F” for farads). Connect the probes to the capacitor leads, observing polarity if it’s polarized.
The multimeter will display the capacitance value. If the reading matches the capacitor’s label, it is good. A very low or zero reading usually means the capacitor is faulty or damaged.
Testing Voltage And Current
Voltage and current tests identify active components like batteries or circuits. Set the multimeter to the correct voltage range (AC or DC). Place the probes across the component or circuit points to measure voltage.
For current, switch to current mode and connect the meter in series with the circuit. The reading shows how much current flows through the component. These tests help confirm if parts like batteries, diodes, or transistors are working properly.
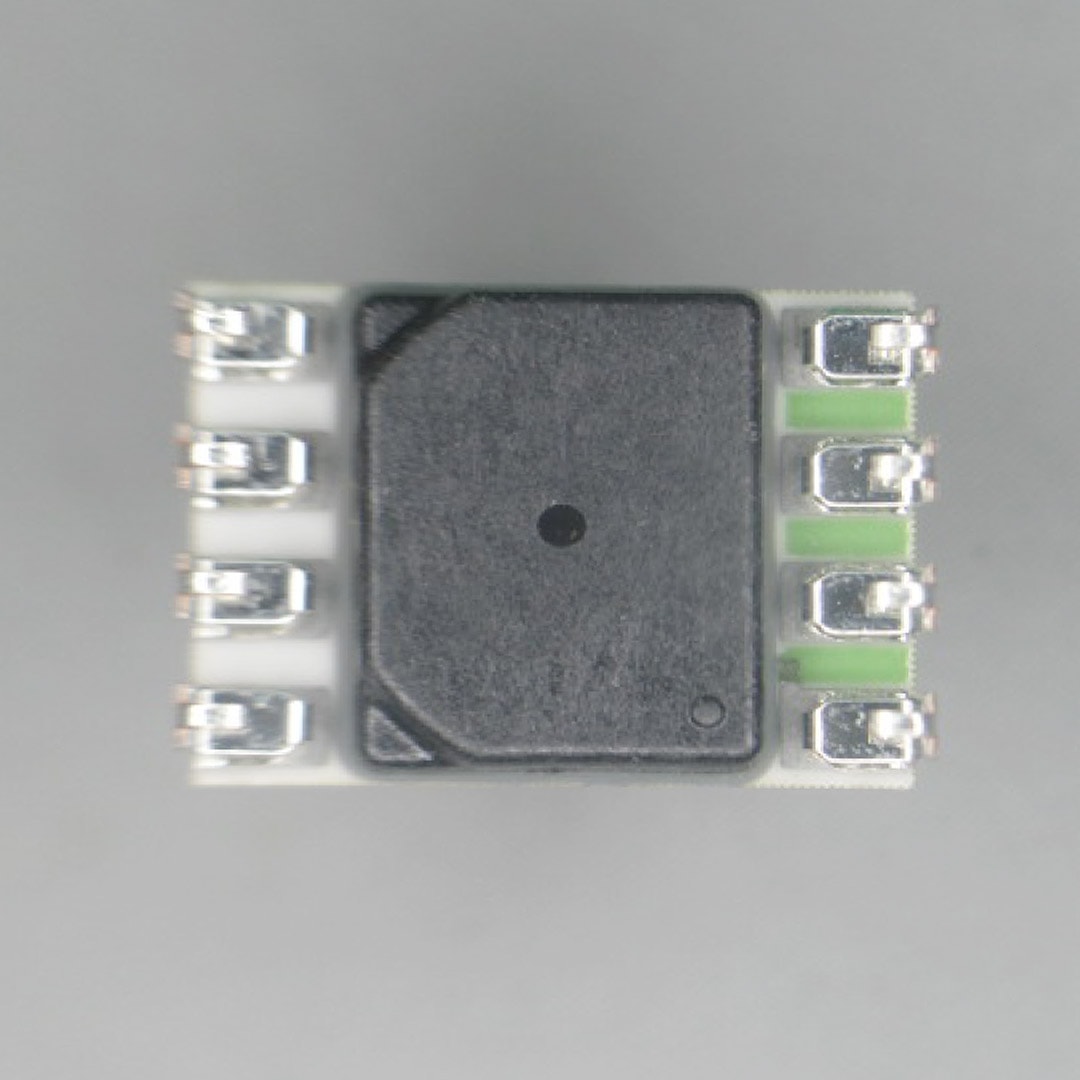
Visual Identification Techniques
Visual identification techniques are your first line of defense when working with electronic components. They help you quickly spot what you’re dealing with without needing specialized equipment. By training your eye to recognize certain shapes, sizes, and colors, you can save time and avoid costly mistakes.
Shape And Size Recognition
Shapes and sizes can tell you a lot about a component’s function and type. Capacitors often look like small cylinders or tiny rectangles, while resistors are usually small, elongated cylinders with color bands. Integrated circuits (ICs) come in various shapes, but most are flat and rectangular with multiple pins on the sides.
Pay close attention to the dimensions. A larger component might handle more power or voltage. For example, a big electrolytic capacitor is designed for higher capacity than a small ceramic one. Have you ever mistaken a small fuse for a resistor just because they were similar in size? Learning the subtle differences can prevent such errors.
Color Coding Systems
Color coding is a universal language in electronics. Resistors and inductors often use colored bands to indicate their values. Understanding this system lets you read a resistor’s resistance without needing a multimeter.
| Color | Number | Multiplier | Tolerance |
|---|---|---|---|
| Black | 0 | 1 | — |
| Brown | 1 | 10 | ±1% |
| Red | 2 | 100 | ±2% |
| Orange | 3 | 1,000 | — |
| Yellow | 4 | 10,000 | — |
| Green | 5 | 100,000 | ±0.5% |
| Blue | 6 | 1,000,000 | ±0.25% |
| Violet | 7 | 10,000,000 | ±0.1% |
| Gray | 8 | — | ±0.05% |
| White | 9 | — | — |
Different capacitor types use color codes too, but these can vary widely depending on the manufacturer and country. Have you noticed how some resistors have four bands while others have five or six? Each format gives you different levels of precision and tolerance information.
Next time you pick up a component, ask yourself: what does its shape say? What story do its colors tell? These simple observations can speed up your diagnostics and help you feel more confident handling electronic parts.
Online Resources And Tools
Identifying electronic components can sometimes feel like solving a puzzle without all the pieces. Thankfully, online resources and tools have simplified this task, making it easier for you to pinpoint exactly what you’re working with. These digital aids offer quick access to detailed information, saving you time and reducing errors in your projects.
Component Databases
Component databases act like extensive libraries filled with datasheets, specifications, and images of countless electronic parts. You can search by part number, manufacturer, or even by the physical characteristics of the component you have on hand.
Popular databases such as Octopartand Digi-Keyprovide detailed specs and availability. These platforms also offer cross-references to similar components, which is useful if your exact part is discontinued or hard to find.
Have you ever struggled to identify a tiny resistor or capacitor with only a faded marking? Using these databases, you can input partial markings or values to narrow down your options. This makes your troubleshooting process much faster and more accurate.
Mobile Apps For Identification
Mobile apps bring component identification straight to your fingertips, literally. With features like barcode scanning and image recognition, you can identify parts on the spot without needing a computer.
Apps like ElectroDroidand PartSeekeroffer handy tools such as pinout diagrams, color code calculators, and component search functions. These apps are designed to help you decode markings and symbols quickly, whether you’re at your workbench or out in the field.
Imagine you’re at a flea market or a swap meet with a box of unknown electronic parts. Instead of guessing, you can use your phone to scan and identify components instantly. This approach not only saves time but also helps you avoid buying incompatible or unusable parts.
Credit: suntsu.com
Common Identification Mistakes
Identifying electronic components correctly is crucial for any project, but it’s easy to make mistakes that cost time and money. Many errors happen because of small oversights or misunderstandings. Recognizing these common pitfalls can help you avoid frustration and ensure your circuits work as intended.
Misreading Codes
Component codes can be tricky, especially when they appear faded or tiny. A resistor marked “103” means 10k ohms, but if you misread it as “130,” you’ll pick the wrong part. Have you ever grabbed the wrong capacitor because you confused microfarads (µF) with picofarads (pF)?
Always double-check the code with a reliable reference chart. Use a magnifying glass or take a close-up photo to see the markings clearly. Remember, some manufacturers use different coding systems, so confirm before you assume.
Confusing Similar Components
Some components look almost identical but function very differently. Transistors like the 2N3904 and 2N2222 might share a similar shape, but swapping them can cause your circuit to fail. Have you ever mixed up a diode with a zener diode because both look like small cylinders with a stripe?
To avoid confusion, keep your components organized and labeled. Use datasheets to verify pin configurations and electrical characteristics. Even if two parts look alike, a quick check can prevent costly mistakes.
Tips For Beginners
Getting started with identifying electronic components can feel overwhelming. You might have a box full of tiny parts and no idea where to begin. These tips will help you bring order to the chaos and build your confidence quickly.
Organizing Components
Keeping your components organized saves you time and frustration. Use small containers or drawer organizers to separate parts by type—resistors, capacitors, transistors, and so on.
Label each container clearly. Even a simple handwritten note can prevent hours lost searching later.
Have you ever spent more time hunting for a component than actually working on your project? Proper organization helps you avoid that trap every time.
Building A Reference Library
Collect datasheets and manuals for the components you use most. These documents hold crucial information like pinouts, ratings, and symbols.
Bookmark reliable websites or keep digital copies on your device for quick access. Over time, this library becomes your go-to resource.
Try creating your own cheat sheets with pictures and notes. This personal touch makes it easier to recall details when you’re deep into a project.

Credit: www.reddit.com
Frequently Asked Questions
What Are Common Types Of Electronic Components?
Common types include resistors, capacitors, diodes, transistors, and integrated circuits. Each has unique functions and markings. Learning their shapes and symbols helps in quick identification.
How Can I Read Component Labels And Codes?
Component labels use numbers, letters, or color codes. Resistors use color bands; capacitors have printed values. Refer to datasheets for exact decoding and specifications.
What Tools Help Identify Electronic Components Accurately?
Multimeters, component testers, and magnifying glasses are useful tools. They measure values like resistance and capacitance, aiding precise identification. Digital tools provide quick, reliable results.
Why Is Polarity Important In Some Components?
Polarity determines correct current flow direction. Components like diodes and electrolytic capacitors must be connected properly. Incorrect polarity can damage the component or circuit.
Conclusion
Identifying electronic components can seem tough at first. Start by checking the shape, size, and markings. Use a multimeter for testing if unsure. Study datasheets to understand each part’s function. Practice with common components like resistors and capacitors. This skill grows with time and patience.
Soon, reading circuit diagrams will feel easier. Keep learning and stay curious about electronics. Small steps lead to big improvements. You can confidently identify parts in any project. Keep exploring and enjoy building your knowledge.


