
Are you curious about how electronic components come to life? Whether you want to start your own electronics project or understand the process behind the gadgets you use every day, knowing how to manufacture electronic components is essential.
This guide will walk you through the key steps, making a complex process simple and clear. By the end, you’ll feel confident about the basics of creating your own electronic parts and ready to dive deeper into this fascinating world.
Keep reading, and unlock the secrets behind the tiny pieces that power our digital lives.
Materials And Equipment
Understanding the materials and equipment required is the backbone of manufacturing electronic components. The quality of raw materials directly impacts the performance and reliability of the final product. Similarly, the tools and machinery you choose affect precision and efficiency in production.
Essential Raw Materials
Electronic components rely on a mix of metals, semiconductors, and insulators. Copper and aluminum are common for conductive paths due to their excellent electrical properties. Silicon wafers serve as the base for most semiconductor devices, offering a reliable platform for microchips.
Plastic and ceramic materials often act as insulators or packaging substances, protecting delicate circuits from damage. Don’t overlook solder, which is essential for joining components securely. The purity and consistency of these materials matter; even small impurities can cause failures.
Have you ever wondered how the tiny resistors or capacitors you see inside devices are made so consistently? It’s because manufacturers start with precisely formulated raw materials, ensuring each batch meets strict standards.
Tools And Machinery Needed
The manufacturing process requires specialized equipment to shape, assemble, and test components. Automated pick-and-place machines speed up placing tiny parts on printed circuit boards with unmatched accuracy. Precision soldering stations ensure strong, reliable connections without damaging sensitive parts.
Other crucial machines include wire bonders for connecting chips and testing stations that verify each component’s functionality before shipment. Cleanroom environments equipped with filtration systems help prevent contamination that could ruin delicate components.
Investing in the right machinery can drastically cut down errors and improve your production speed. What machines have you found most effective in your manufacturing setup? Sharing your experiences can help others choose wisely.
Credit: www.wevolver.com
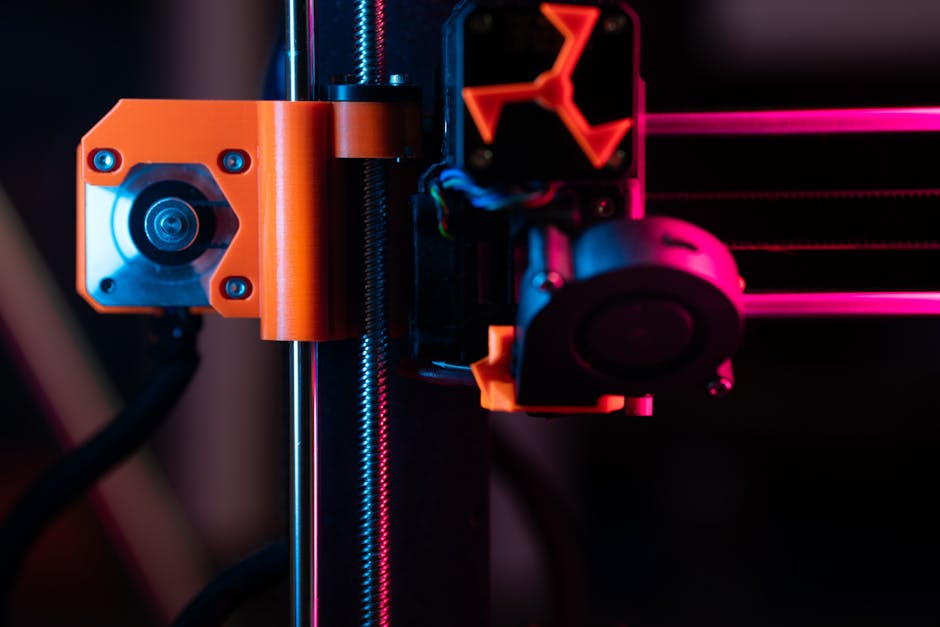
Design And Prototyping
Design and prototyping form the foundation of manufacturing electronic components. This phase allows you to translate ideas into tangible models, test functionality, and refine designs before mass production. A well-crafted prototype can save time, reduce costs, and prevent errors down the line.
Circuit Design Basics
Start by understanding the core function your electronic component must perform. Break down the circuit into smaller parts like power supply, signal processing, and output stages. Use simple tools such as schematic capture software to visualize your design clearly.
Choosing the right components is crucial. Consider factors like voltage ratings, tolerance, and size. This helps avoid compatibility issues and ensures your circuit runs efficiently.
Ask yourself: Does the design meet the required performance and safety standards? Testing simulations can highlight potential problems before building physical prototypes.
Creating A Prototype
Once your circuit design is complete, move on to building a prototype. Start with a breadboard or a printed circuit board (PCB) to assemble components quickly and check connections.
Keep your prototype simple but functional. This allows you to focus on testing core features without getting overwhelmed by complexity.
Document each change you make during testing. This habit helps track improvements and avoid repeating mistakes.
- Use solderless breadboards for quick adjustments.
- Consider 3D printing enclosures for physical protection.
- Test under real operating conditions to catch hidden issues.
Have you ever faced a design flaw that only showed up during prototyping? That’s the moment when prototyping proves its real value.
Component Fabrication
Component fabrication is the heart of manufacturing electronic parts. It transforms raw materials into the tiny, precise components that power your devices. This process demands accuracy and consistency, and understanding its stages helps you appreciate the complexity behind everyday electronics.
Semiconductor Processing
Semiconductor processing is where magic happens on a microscopic scale. Silicon wafers are cleaned and coated with photoresist, then exposed to light through masks to create intricate patterns. This process, known as photolithography, defines the circuits that form transistors and other components.
Next comes doping, where impurities are added to change electrical properties. You control the flow of electrons by carefully introducing elements like boron or phosphorus. This step is crucial for making components like diodes and integrated circuits.
Etching removes unwanted material, shaping the tiny features etched by photolithography. Multiple layers are built up through deposition and planarization, creating complex 3D structures. Can you imagine the precision needed when these features are smaller than a human hair?
Printed Circuit Board Production
Printed Circuit Boards (PCBs) serve as the backbone, connecting all components. The production starts with a copper-clad laminate, which is cleaned and coated with a photoresist layer. Using a similar photolithography process, the copper is etched away to form the circuit paths.
Drilling precise holes allows components to be soldered onto the board. These vias connect different layers of the PCB, enabling complex designs in compact spaces. After that, solder mask and silkscreen layers are applied to protect and label the board.
Have you ever wondered how your smartphone fits so many functions into a tiny board? The answer lies in multilayer PCBs, where multiple circuits stack up, maximizing space and efficiency.
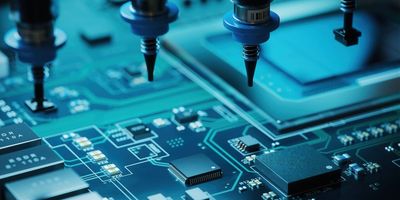
Assembly Process
The assembly process is a vital part of manufacturing electronic components. It connects all parts to create a functioning device. Each step must be precise to ensure quality and reliability. Skilled workers and advanced machines work together in this phase.
Efficient assembly reduces errors and saves time. It involves placing components on boards and joining them correctly. Two main techniques dominate this stage: soldering and surface mount technology.
Soldering Techniques
Soldering joins metal parts using a melted filler metal called solder. It creates strong electrical connections. Two common soldering types are through-hole and reflow soldering.
- Through-hole soldering passes component leads through holes on a circuit board.
- Reflow soldering melts solder paste on the board to attach surface components.
Good soldering avoids cold joints and shorts. Proper temperature and timing are crucial. Automated soldering machines improve accuracy and speed.
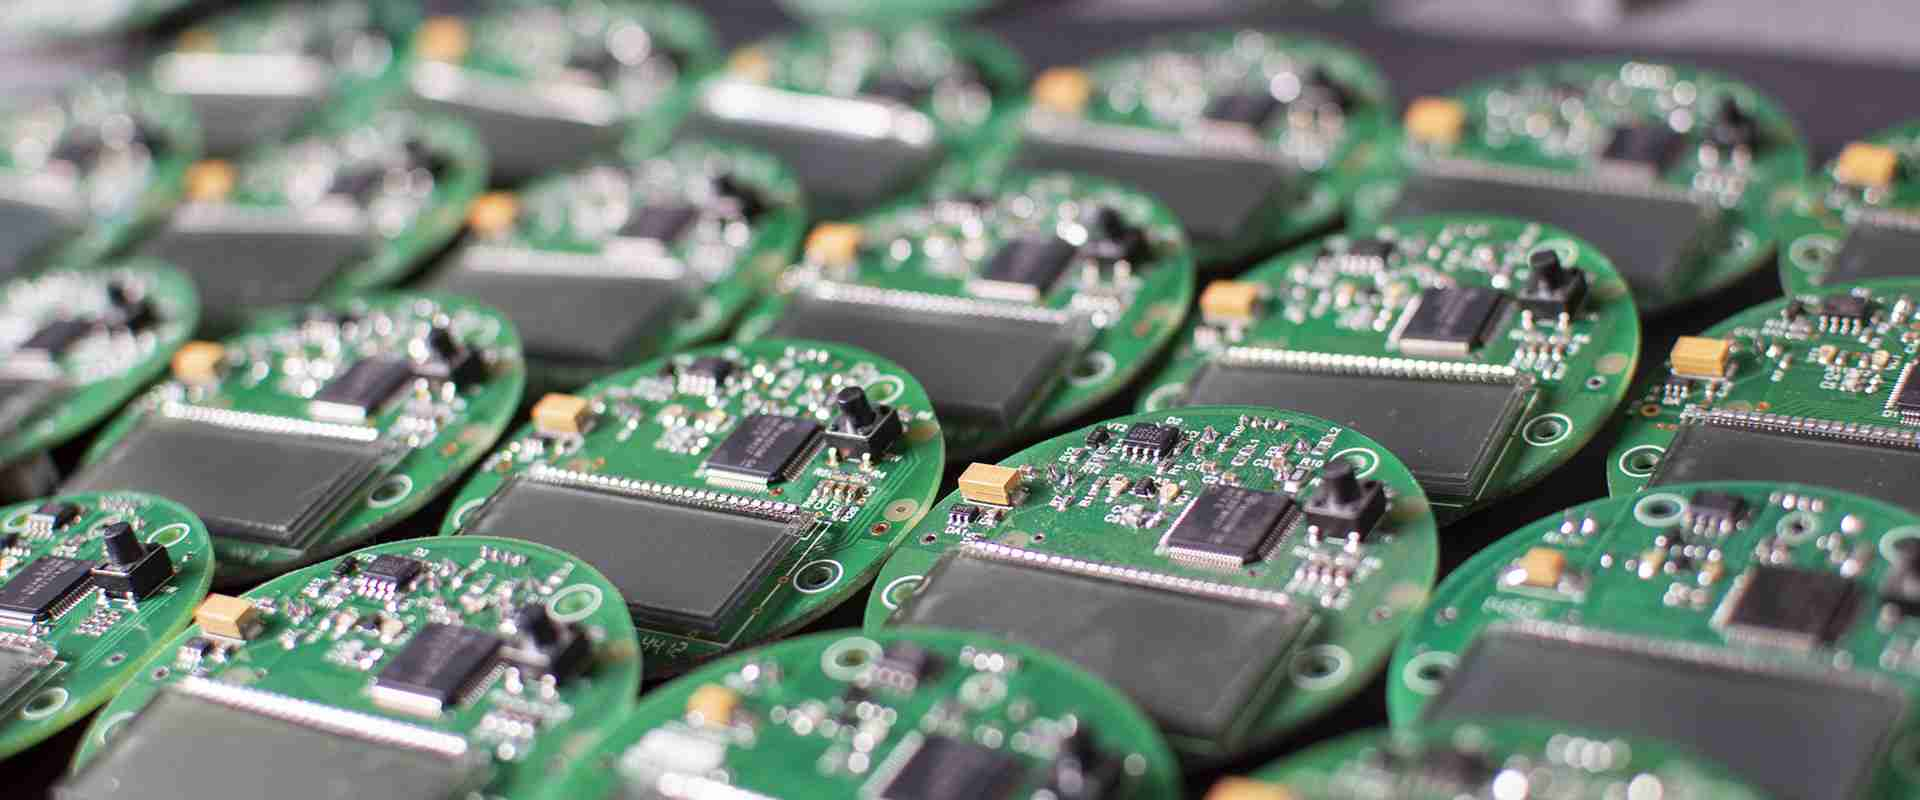
Surface Mount Technology
Surface mount technology (SMT) places components directly on the board surface. It allows smaller, lighter, and faster devices. SMT uses solder paste and precise machines for placement.
The process includes:
- Applying solder paste to pads on the board
- Placing components using pick-and-place machines
- Heating the board to melt the solder and fix parts
SMT supports high-density layouts. It suits mass production with consistent quality. This method is now standard for modern electronics.
Quality Control
Quality control is the backbone of manufacturing electronic components. It ensures every piece meets the required standards before it reaches the customer. Without strict quality control, even the most advanced designs can fail in real-world applications.
Testing Procedures
Testing electronic components involves several key steps to verify their functionality and reliability. You can start with visual inspections to catch obvious defects like cracks or misalignments. Automated optical inspection (AOI) machines speed up this process and reduce human error.
Next, electrical testing confirms that components perform within their specified parameters. This can include resistance, capacitance, and voltage tests. More advanced tests like thermal cycling simulate real operating conditions, revealing weaknesses you might miss otherwise.
Think about how you might test a batch of resistors. Would you test each one individually, or sample a few? Deciding the right balance between thoroughness and efficiency is key to maintaining production flow without sacrificing quality.
Troubleshooting Defects
When defects arise, the goal is to identify their root cause quickly. Start by categorizing the defect type: is it mechanical damage, material failure, or an assembly error? This helps narrow down where to look first.
Use tools like microscopes, x-ray imaging, or electrical signal analyzers to inspect the problematic components. Often, defects trace back to a specific stage in the manufacturing process, such as soldering or wafer fabrication.
Imagine finding a batch of capacitors with inconsistent capacitance values. Investigating the raw materials and production parameters can reveal if changes in supplier quality or machine calibration caused the issue. How would you adjust your process to prevent this from happening again?
Credit: www.minewingems.com
Packaging And Shipping
Packaging and shipping play a vital role in manufacturing electronic components. Proper packaging protects delicate parts from damage during transport. Efficient shipping ensures components reach customers on time and in perfect condition.
Choosing the right packaging and shipping methods reduces waste and lowers costs. It also safeguards the product’s quality and performance.
Protective Packaging Methods
Use anti-static bags to prevent static electricity damage. Wrap components in foam or bubble wrap to cushion shocks. Place items in sturdy boxes to avoid crushing.
Include moisture-absorbing packets to protect against humidity. Label packages clearly with handling instructions. Custom inserts keep parts from moving inside boxes.
Logistics And Distribution
Select reliable carriers with experience in electronic shipments. Plan routes to minimize transit time and handling. Track shipments with real-time updates for better control.
Coordinate with warehouses to ensure smooth storage and transfer. Use pallets and secure strapping for bulk shipments. Consider climate control options for sensitive components.

Credit: www.electronicsandyou.com
Frequently Asked Questions
What Are The Steps To Make Electronic Components?
Manufacturing electronic components involves design, prototyping, and testing. It starts with designing the circuit and selecting materials. Then, prototypes are created and tested for functionality. Finally, the components undergo mass production and quality assurance checks to ensure they meet industry standards.
How Do Raw Materials Impact Production?
Raw materials are crucial for the quality and performance of electronic components. High-quality materials ensure reliability and efficiency. Selecting appropriate materials reduces waste and production costs. This step is vital in maintaining the integrity and lifespan of electronic components.
What Role Does Quality Control Play?
Quality control ensures that electronic components meet required standards. It involves rigorous testing and inspections at different stages of production. This process helps identify defects early, ensuring reliability. Effective quality control minimizes errors and enhances customer satisfaction.
Why Is Prototyping Important In Manufacturing?
Prototyping allows for testing and refining designs before mass production. It helps identify potential flaws in the design. This step ensures that the final product is efficient and functional. Prototyping reduces risks and saves costs by preventing production errors.
Conclusion
Manufacturing electronic components takes careful planning and skill. Follow each step with attention to detail. Use quality materials for the best results. Test components to ensure they work well. Keep learning to improve your process. This helps create reliable and useful electronics.
Stay patient and practice often to get better. Your efforts can lead to great products. Keep pushing forward, and success will come.


