
Are you struggling to create a clear and effective test plan for your electronics component tests? Writing a solid test plan is the key to catching problems early and ensuring your components work perfectly.
But where do you start? You’ll discover simple steps to build a test plan that saves you time, reduces errors, and boosts your confidence in every test. Keep reading, and you’ll learn how to take control of your testing process like a pro.
Purpose Of A Test Plan
A test plan is a detailed guide for testing electronic components. It sets clear goals and methods for checking if a component works well. The purpose of a test plan is to ensure tests run smoothly and results are reliable. It helps teams understand what to test and how to do it.
Writing a test plan reduces errors and saves time. It also makes communication easier among engineers and testers. Everyone knows what to expect and how to handle problems during testing.
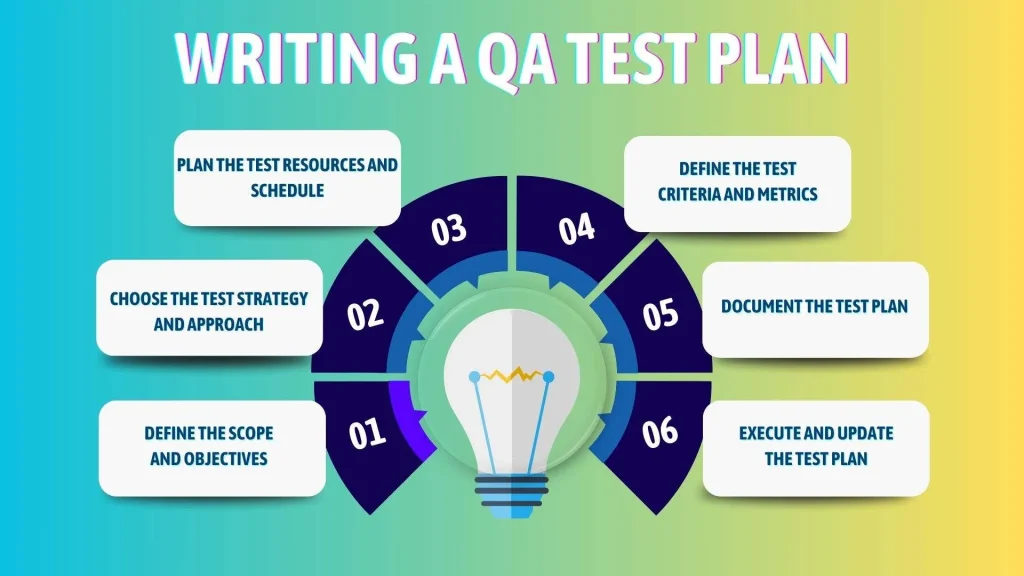
Define Testing Objectives
Clearly state what the test aims to achieve. For example, check the component’s durability or electrical performance. Objectives keep the testing focused and relevant.
Outline Scope And Limitations
Specify which parts of the component will be tested. Mention what is outside the testing boundaries. This avoids confusion and sets realistic expectations.
Identify Resources And Responsibilities
List the tools, equipment, and personnel needed for testing. Assign clear roles to team members. This ensures proper preparation and smooth execution.
Establish Testing Criteria
Set pass and fail standards for the component tests. Define acceptable limits for measurements and behaviors. Clear criteria help in making objective decisions.
Plan For Risks And Contingencies
Anticipate possible problems during testing. Prepare solutions or backup plans. This reduces delays and improves test reliability.
Credit: www.frugaltesting.com
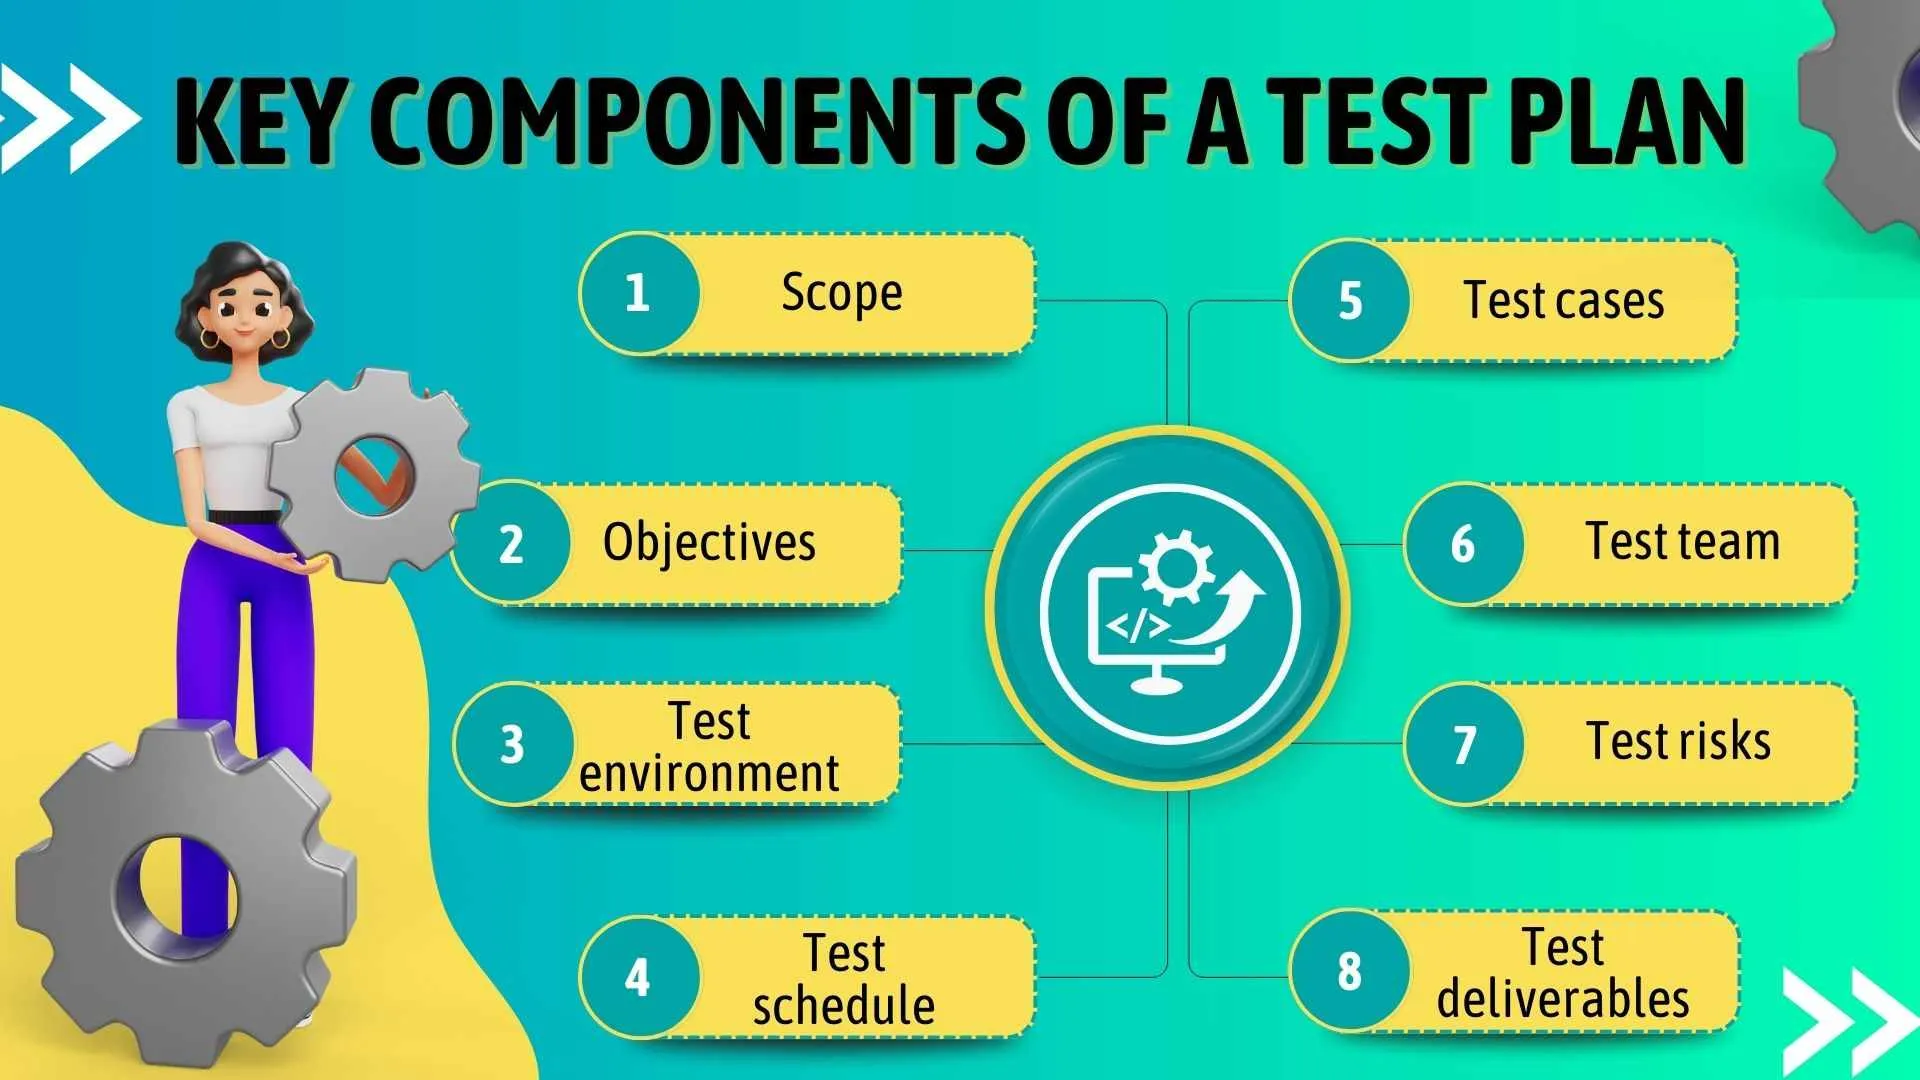
Key Components Of A Test Plan
A solid test plan guides the entire electronics component testing process. It ensures tests meet expectations and run smoothly. Key components create a clear, organized framework. Each part plays a vital role in delivering accurate results.
Objectives
Objectives define what the test aims to achieve. They describe the goals for testing each component. Clear objectives help focus efforts on critical functions and performance. Objectives also set success criteria to measure test results.
Scope
The scope outlines the boundaries of the test plan. It specifies which components and features will be tested. It also mentions what is excluded to avoid confusion. Defining scope prevents wasted time on unrelated parts.
Resources
Resources list the tools, equipment, and personnel needed. This includes test instruments, software, and skilled testers. Proper resource planning ensures readiness and reduces delays. It also highlights any special requirements for testing.
Schedule
The schedule sets the timeline for all test activities. It includes start and end dates, and key milestones. A clear schedule keeps the project on track and avoids bottlenecks. It helps coordinate efforts among team members and stakeholders.
Identifying Test Requirements
Identifying test requirements is the foundation of an effective test plan for electronics component testing. Without a clear understanding of what needs to be tested, your efforts can become unfocused, wasting time and resources. Pinpointing the exact requirements helps you design tests that are both relevant and thorough.
Regulatory Standards
Regulatory standards define the minimum criteria your electronic components must meet to be legally sold and safely used. These standards vary depending on the region, application, and industry, so knowing which ones apply to your component is crucial.
For example, components used in medical devices often need to comply with ISO 13485 or FDA regulations, while consumer electronics might require CE marking or FCC certification. Ignoring these standards can lead to costly redesigns or product recalls.
Ask yourself: Have you gathered the latest applicable standards for your product? Staying updated ensures your test plan covers all mandatory checkpoints and avoids surprises during certification.
Component Specifications
Every electronic component comes with detailed specifications that describe its performance limits, physical characteristics, and operating conditions. These specs act as your testing blueprint, showing what parameters you must verify.
Consider voltage ratings, temperature ranges, tolerance levels, and expected lifecycle. For instance, a resistor specified to operate up to 70°C must be tested under those thermal conditions to confirm reliability.
Have you reviewed the datasheets and technical manuals thoroughly? Missing a critical spec can mean overlooking failure modes that affect your product’s durability and safety.
Credit: www.frugaltesting.com
Test Design And Methodology
Designing a test plan for electronics components requires careful thought about how you will structure your tests and the methods you will use. The test design and methodology form the backbone of your plan, ensuring that every test is purposeful and effective. This part helps you set clear goals, choose the right tools, and organize your testing process to catch issues early.
Choosing Test Techniques
Picking the right test techniques can make or break your electronics component testing. You want techniques that fit the component type, its function, and the environment it will operate in.
Common techniques include:
- Functional Testing:Verifies if the component performs its intended task.
- Stress Testing:Pushes the component beyond its limits to find weaknesses.
- Environmental Testing:Checks how the component behaves under temperature, humidity, or vibration changes.
- Electrical Testing:Measures voltage, current, and resistance to ensure specifications are met.
Ask yourself what failure modes are critical. Would a slight voltage drop cause a total failure, or is the component tolerant? Your answers guide which techniques to emphasize.
Defining Test Levels
Test levels organize your testing into stages, each with a specific focus. This approach helps you detect issues early and isolate problems quickly.
Typical test levels for electronics components include:
| Test Level | Purpose | Example Activities |
|---|---|---|
| Unit Testing | Verify individual component functions | Check signal output, measure response times |
| Integration Testing | Ensure components work together | Test communication between microcontrollers and sensors |
| System Testing | Validate full system performance | Run scenarios simulating real-world use |
Which test level do you often overlook? Missing early-stage tests can cause wasted time and resources later. Defining clear levels keeps your testing focused and efficient.
Test Environment Setup
Setting up the test environment is crucial for accurate results in electronics component testing. The environment must mimic real-world conditions to ensure reliability. Every detail matters, from equipment choice to configuration settings. A well-planned environment reduces errors and saves time during testing.
Equipment Requirements
Choose equipment that matches the component specifications. Use calibrated instruments to avoid measurement errors. Common tools include oscilloscopes, multimeters, signal generators, and power supplies.
- Oscilloscopes for waveform analysis
- Multimeters for voltage and current checks
- Signal generators to simulate input signals
- Power supplies with adjustable voltage and current
- Test fixtures to hold components securely
Ensure all tools are in good condition and regularly maintained. Proper equipment guarantees consistent and accurate test outcomes.
Configuration Details
Set up the test environment according to the component’s operating conditions. Adjust voltage, temperature, and signal parameters carefully. Document every setting for repeatability and troubleshooting.
| Parameter | Recommended Setting | Notes |
|---|---|---|
| Voltage | Specified operating voltage ±5% | Check manufacturer datasheet |
| Temperature | Room temperature (22°C) or specified range | Use temperature chambers if needed |
| Signal Frequency | Based on component function | Use signal generator settings |
| Humidity | 40-60% RH | Control environment for sensitive parts |
Double-check all connections and settings before starting tests. Consistency is key to reliable data and valid conclusions.
Resource Allocation
Resource allocation is a key part of writing a test plan for electronics component testing. It ensures you have the right people, tools, and budget in place to carry out tests effectively and on time. Without proper allocation, even the best test strategies can fail due to lack of support or resources.
Team Roles
Defining clear team roles helps avoid confusion and overlap during testing. Assign specific responsibilities such as test designer, test executor, data analyst, and quality controller. Each role should match the individual’s skills and experience to maximize efficiency.
Think about who will lead the team and who will handle communication with suppliers or engineers. Also, consider including a troubleshooting expert who can quickly address unexpected issues during testing. Clear role assignments keep your test plan organized and help you meet deadlines.
Budget Considerations
Budgeting is more than just listing costs; it requires prioritizing expenses based on test objectives. Identify essential tools, software licenses, and hardware components needed for accurate testing. Allocate funds for potential repairs or replacements of sensitive electronics.
Have you accounted for labor costs, including overtime if testing runs longer than expected? Sometimes, unexpected expenses arise, so build a small buffer into your budget. A well-planned budget prevents delays and keeps your project on track without sacrificing quality.
Risk Management
Risk management is a key part of writing a test plan for electronics component testing. It helps find problems before testing begins. Managing risks lowers chances of failure and saves time and cost. It also keeps the testing process smooth and reliable.
Identifying Potential Risks
Start by listing all possible risks in the test process. Think about component failure, incorrect data, and equipment errors. Check if environmental factors like temperature or humidity could cause issues. Consider human errors during setup or test execution. Use past test reports to spot common problems.
- Component damage during testing
- Incorrect test setup
- Power supply fluctuations
- Software bugs in test tools
- Data loss or corruption
- Unstable test environment
Mitigation Strategies
Create clear steps to reduce each risk. Use backup equipment to avoid delays. Train the team to follow test procedures carefully. Set up alarms to catch power or temperature changes early. Regularly update test software to fix bugs. Make sure test data is saved in multiple places.
- Use protective equipment for sensitive components
- Double-check test setups before running tests
- Monitor power and environment continuously
- Provide team training on test protocols
- Keep software and tools updated
- Back up test results frequently
Credit: www.frugaltesting.com
Test Execution Strategy
The test execution strategy defines how to carry out tests on electronic components effectively. It ensures all tests run smoothly and results are reliable. Clear planning helps avoid delays and errors during testing.
This strategy focuses on preparing test cases and scheduling the test activities carefully. It lays out the steps to follow, who performs each task, and how to track progress.
Test Case Development
Test cases must cover all functions of the electronic component. Each test case should have a clear goal and expected result. Write test steps in simple language to avoid confusion.
- Identify component features to test.
- Create detailed test scenarios.
- Define inputs, outputs, and conditions.
- Include pass/fail criteria for each test.
- Review test cases with the team for accuracy.
Good test cases help detect defects early. They ensure every part of the component works as intended.
Execution Timeline
Set a realistic timeline for test execution. Allocate enough time for each test case based on complexity. Consider setup and teardown time for the test environment.
| Phase | Estimated Duration | Key Activities |
|---|---|---|
| Preparation | 2 days | Setup equipment, review test cases |
| Execution | 5 days | Run tests, record results |
| Analysis | 2 days | Evaluate test data, report issues |
Track progress daily to adjust the timeline if needed. Clear deadlines keep the testing process on track.
Monitoring And Reporting
Monitoring and reporting are crucial parts of writing a test plan for electronics component testing. They help you keep track of how tests are progressing and identify any issues early. Without clear monitoring and reporting, you risk missing critical defects or delays that could impact the entire project timeline.
Progress Tracking
Keeping a close eye on test progress ensures you know exactly where you stand at any time. Use a simple tracking system like a spreadsheet or a project management tool to log completed tests, pending tests, and any blockers.
- Update test status daily to avoid surprises.
- Include details like test start time, end time, and tester’s name.
- Highlight any delays or anomalies immediately.
In one project, tracking progress rigorously helped us catch a slow-performing component early, saving days of troubleshooting later. What tools do you currently use to monitor your test activities?
Reporting Defects
Clear defect reporting is essential for addressing issues effectively. Make your reports detailed but easy to understand, including component ID, test conditions, error description, and severity level.
| Defect Attribute | What to Include |
|---|---|
| Component ID | Exact identifier or serial number |
| Test Conditions | Temperature, voltage, and other relevant settings |
| Error Description | Clear explanation of the failure or anomaly |
| Severity Level | Minor, major, or critical impact |
Don’t overlook the power of screenshots, photos, or logs to supplement your defect reports. Have you ever found that a well-documented defect report speeds up the resolution process?
Criteria For Test Completion
Knowing when a test is truly complete is key to ensuring your electronics component meets its design goals without wasting time or resources. Setting clear criteria for test completion helps you avoid endless testing cycles and provides confidence that the component performs as expected under specified conditions. These criteria act as your checkpoint, signaling when you have gathered enough evidence to move forward.
Exit Criteria
Exit criteria define the specific conditions that must be met before you can stop testing. These include:
- All planned test cases have been executed
- No critical or major defects remain unresolved
- Test coverage goals have been achieved
- Performance benchmarks meet the expected thresholds
Think about the last time you paused testing too early. Did you miss catching a subtle defect? Setting strict exit criteria prevents that risk and ensures your test plan is thorough yet efficient.
Acceptance Standards
Acceptance standards specify the measurable benchmarks your component must meet to pass testing. These standards often include:
| Parameter | Acceptance Level | Measurement Method |
|---|---|---|
| Voltage Tolerance | ±5% | Multimeter Readings |
| Signal Integrity | Minimum 30 dB SNR | Oscilloscope Analysis |
| Temperature Range | -20°C to 70°C | Environmental Chamber |
Clear acceptance standards take the guesswork out of test results. When you define these standards upfront, you can objectively decide if your component is ready or if adjustments are needed.
Review And Approval Process
The review and approval process ensures the test plan is accurate and complete. It involves multiple checks by different team members. This process helps catch errors early and aligns everyone on the testing goals. Clear feedback and formal approval create accountability and trust in the test plan.
Stakeholder Reviews
Stakeholders include engineers, quality teams, and project managers. Each reviews the test plan from their perspective. They check if test cases cover all components and requirements. Comments and suggestions improve the plan’s clarity and effectiveness.
- Verify test scope and objectives
- Confirm test environment and tools
- Assess risk and contingency plans
- Ensure compliance with standards
Collating feedback in one place speeds up revisions. Use shared documents or review tools to track changes. Regular communication keeps the process smooth and efficient.
Approval Sign-off
After reviews, formal approval is required before testing begins. Sign-off means the test plan is ready and agreed upon. It involves key decision-makers who accept responsibility for the plan.
| Role | Responsibility | Approval Action |
|---|---|---|
| Test Lead | Ensures test cases are complete and clear | Signs off test plan document |
| Project Manager | Confirms schedule and resources | Approves timeline and budget |
| Quality Assurance | Validates compliance and quality standards | Grants final approval |
Keep signed documents for audit and reference. This formal step prevents confusion during testing and ensures accountability.
Frequently Asked Questions
What Is A Test Plan For Electronics Component Testing?
A test plan outlines the strategy and steps to verify an electronic component’s functionality. It ensures thorough testing to meet quality standards and detect defects early.
Why Is Writing A Test Plan Important For Electronics?
A test plan provides clear testing objectives, methods, and criteria. It improves communication, reduces errors, and ensures consistent and reliable component evaluation.
What Key Elements Should A Test Plan Include?
A test plan should include objectives, scope, test methods, resources, schedule, and acceptance criteria. These elements guide systematic and effective electronics component testing.
How Do You Define Test Criteria For Electronic Components?
Test criteria specify performance, safety, and reliability standards. They help determine if components meet required specifications before approval or deployment.
Conclusion
Writing a clear test plan helps ensure electronics components work correctly. It guides the testing process step by step. Each test checks important parts of the component. Good planning saves time and avoids mistakes later. Keep the test plan simple and detailed.
Share it with your team for better results. Testing becomes easier and more organized this way. A strong test plan supports quality and reliability. This helps build trust in your product’s performance.


