How to Arrange Electronic Components: Expert Tips for Perfect Layouts
Are you struggling to keep your electronic components organized and easy to find? How you arrange your parts can save you hours of frustration and boost your efficiency.
Imagine reaching for exactly what you need without digging through piles of wires, resistors, and chips. You’ll discover simple, practical ways to arrange your electronic components so your workspace becomes a model of order and productivity. Stick with me, and you’ll never waste time searching for parts again.
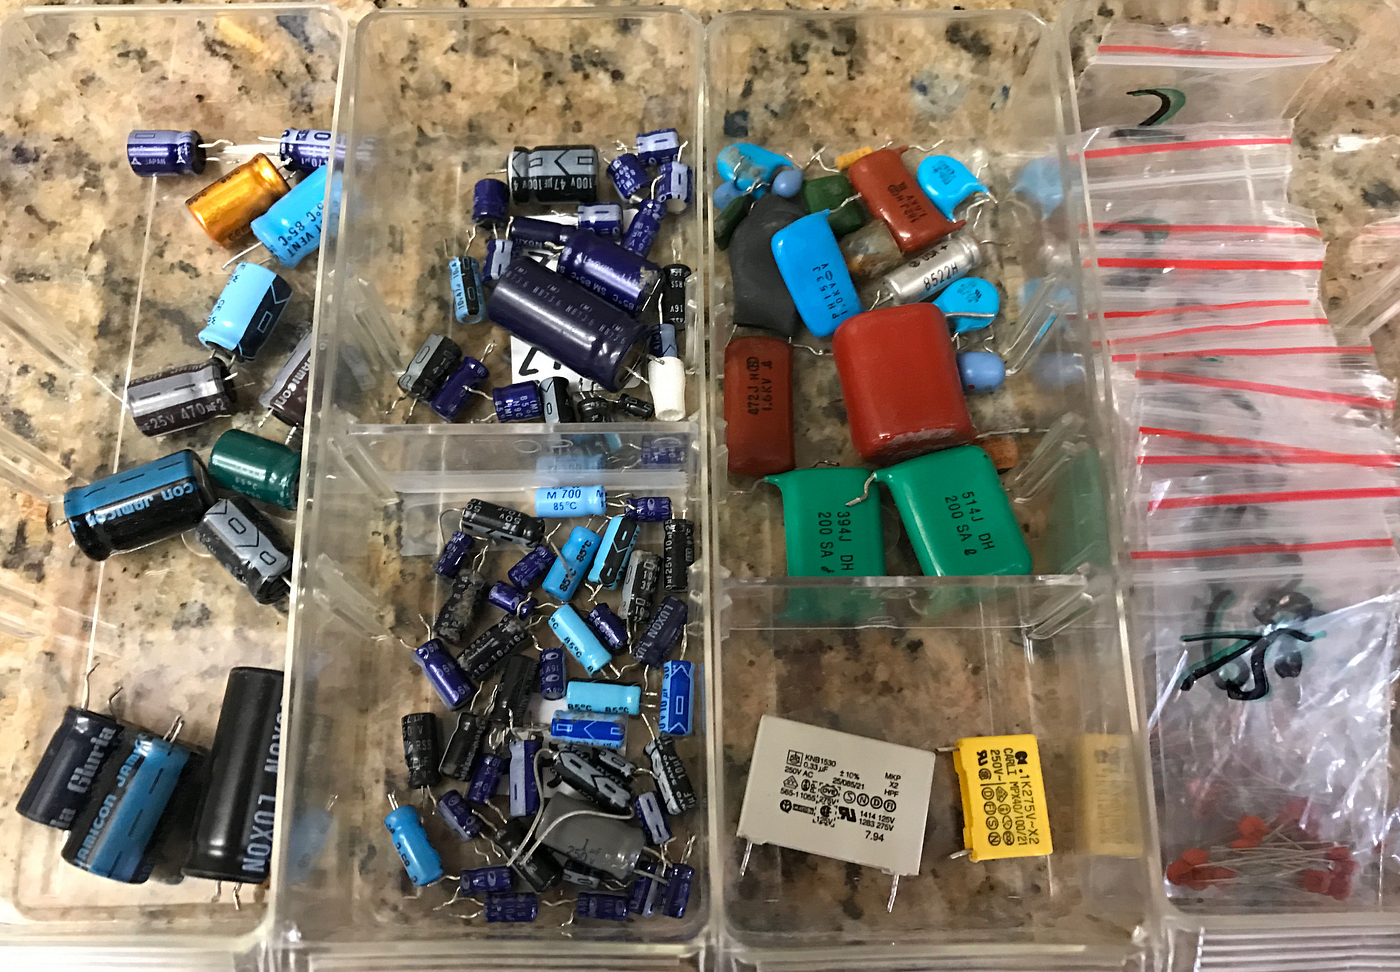
Credit: medium.com
Importance Of Layout Design
Layout design plays a crucial role in arranging electronic components effectively. It ensures your circuit works reliably and efficiently. Without a well-thought-out layout, you risk short circuits, interference, or even component failure.
Improving Circuit Performance
The placement of components affects signal flow and power distribution. Positioning sensitive parts away from high-noise areas can reduce interference significantly. Have you ever experienced unexpected glitches that vanished after rearranging parts? That’s the power of good layout design.
Facilitating Heat Management
Electronic components generate heat, which can damage your circuit if not managed properly. Spacing heat-sensitive components apart and near heat sinks helps maintain optimal temperatures. Think about your last project—did you notice any overheating issues? A better layout might have prevented that.
Enhancing Troubleshooting And Maintenance
A clear layout simplifies identifying and replacing faulty components. Grouping similar parts together or following logical signal paths makes troubleshooting faster. Have you ever spent hours hunting for a single bad connection? Smart layout design saves you that time.
Reducing Manufacturing Errors
A tidy layout reduces the chance of mistakes during soldering or assembly. Clear labeling and consistent orientation help both you and anyone else working on the board. Imagine catching errors before they become costly repairs—wouldn’t that be a relief?
Optimizing Space And Cost
Efficient layout minimizes board size, lowering material costs and improving portability. It also allows room for future upgrades or modifications. How often do you find yourself wishing your project was just a little smaller? Thoughtful layout design is key to that goal.
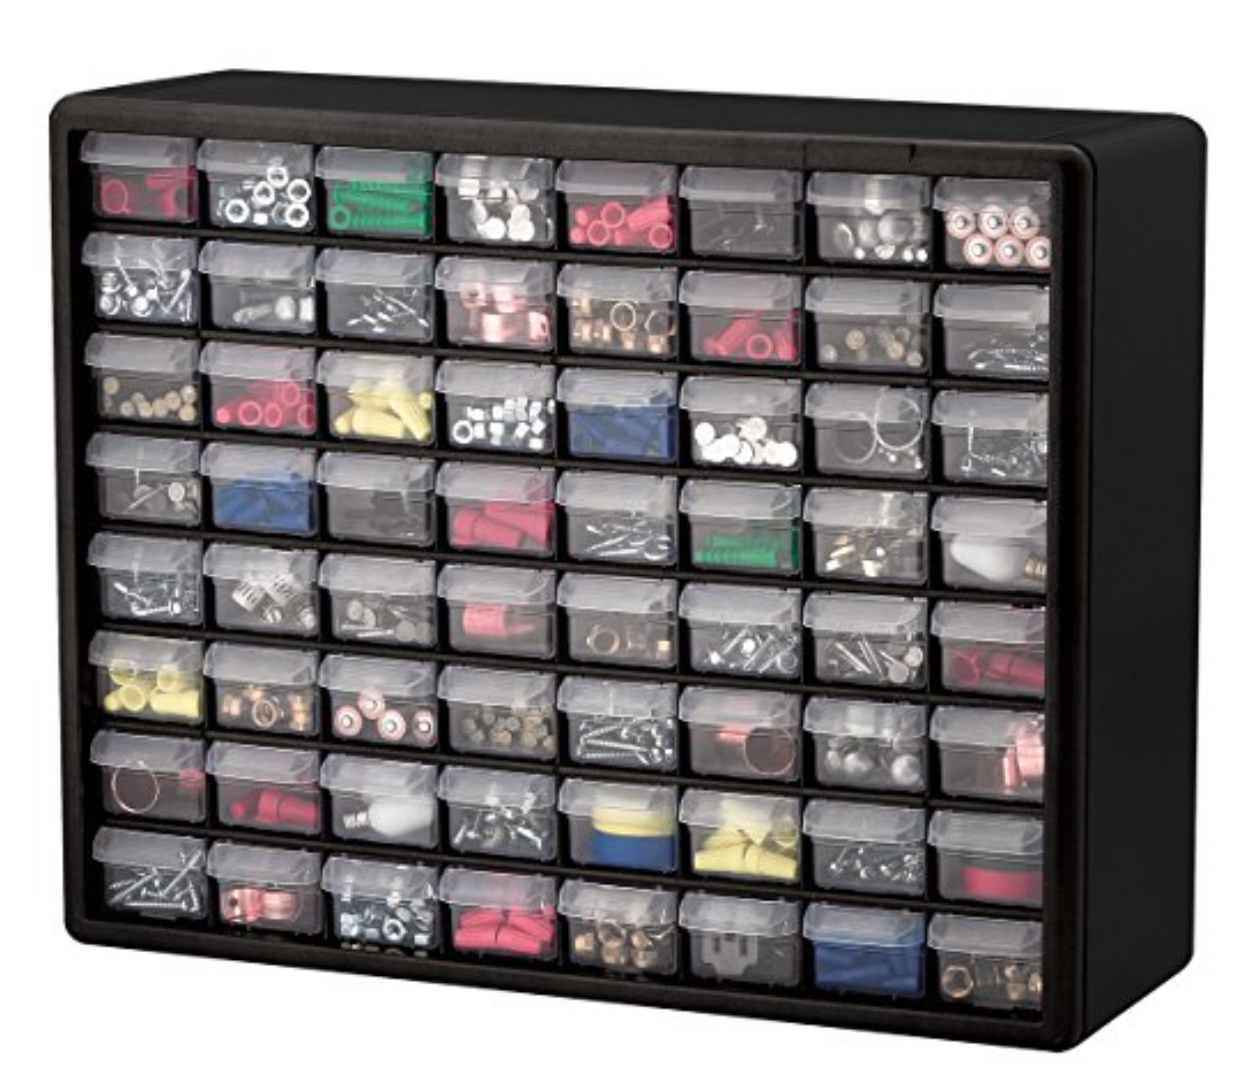
Credit: medium.com
Understanding Circuit Schematics
Understanding circuit schematics is essential for arranging electronic components correctly. A schematic shows how parts connect in a circuit. It acts like a map for building and troubleshooting circuits.
Each symbol in a schematic represents a different electronic component. These symbols help you know where to place each part on your board. Learning to read schematics makes your work faster and less error-prone.
Reading Basic Symbols
Start by recognizing the most common symbols:
- Resistor: zigzag line
- Capacitor: two parallel lines
- Diode: triangle with a line
- Battery: one long and one short line
- Ground: set of decreasing horizontal lines
These simple shapes tell you what component to use and how to connect it.
Following Connection Lines
Lines between symbols show electrical connections. They represent wires linking parts. A dot at line intersections means wires connect there. If no dot, lines only cross without connecting. This detail avoids wiring mistakes.
Understanding Component Values
Numbers near symbols indicate values or ratings. For example, a resistor might show “10k” meaning 10,000 ohms. Capacitors show microfarads or picofarads. These values guide you in choosing the right parts.
Interpreting Power And Ground
Power and ground symbols are crucial. Power symbols show where to connect voltage. Ground symbols indicate the circuit’s reference point. Correct connections keep the circuit safe and functional.
Selecting The Right Components
Selecting the right electronic components is crucial for building a reliable circuit. Choosing components that fit your design ensures the circuit works well and lasts longer.
Consider the function each component will serve and its compatibility with other parts. Quality and availability also matter. This careful choice helps avoid issues during assembly and testing.
Understanding Component SpecificationsEach component has key specifications like voltage, current, and tolerance. Check these values against your circuit requirements. Components must handle the expected electrical load safely.
Datasheets provide detailed information. Learn to read them carefully. This prevents choosing parts that could fail or damage the circuit.
Choosing Between Through-Hole and Surface MountThrough-hole parts are easy to handle and solder by hand. Surface mount components are smaller and fit modern designs better.
Select based on your skill level and project needs. Surface mount saves space but may require special tools.
Prioritizing Component Quality and ReliabilityUse components from trusted brands and suppliers. Cheap parts can cause failures and delays.
Look for components with good reviews or industry certifications. Reliable parts reduce troubleshooting time and improve overall performance.
Considering Availability and CostChoose parts that are easy to buy and affordable. Rare or expensive components may slow down your project.
Balance cost with quality. Sometimes spending a little more saves money in the long run by avoiding replacements.
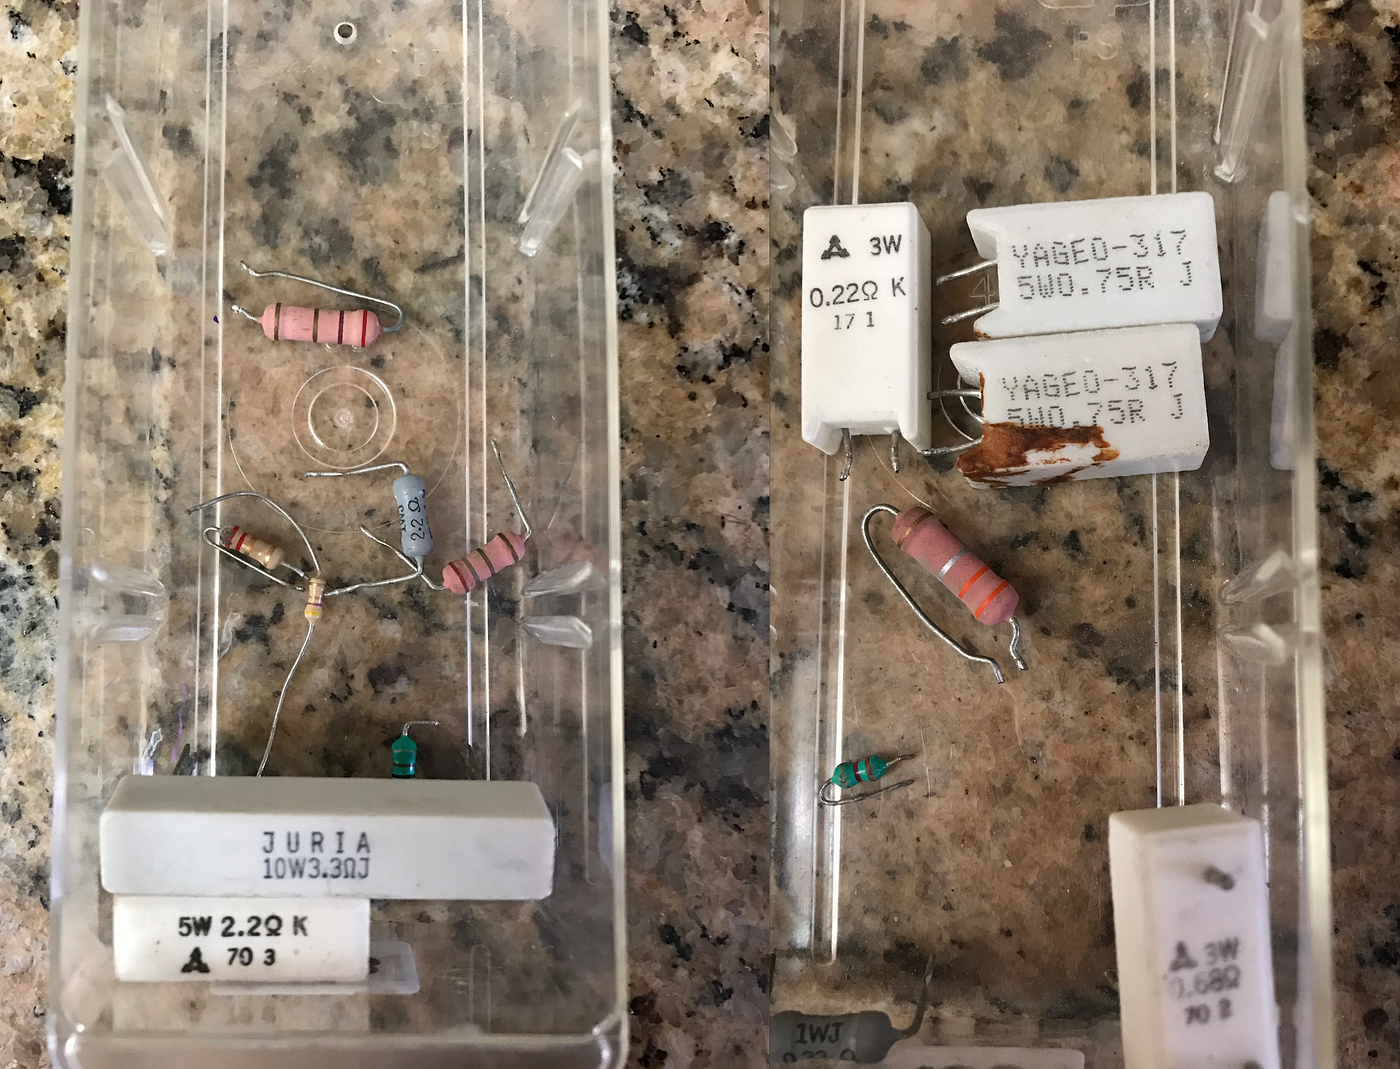
Credit: medium.com
Optimizing Component Placement
Optimizing the placement of electronic components can dramatically improve your circuit’s performance and reliability. Thoughtful arrangement reduces interference, helps with heat dissipation, and makes maintenance easier. Let’s dive into key strategies that make your layout both efficient and practical.
Minimizing Signal Path Length
Shorter signal paths mean less chance for noise and signal loss. Keep components that communicate frequently close to each other to speed up signal flow. This reduces delays and improves overall circuit responsiveness.
Think about your last project: did you notice any lag or unexpected behavior? It might have been due to long wiring or poorly placed parts.
Use straight, direct routes for important signals, especially high-frequency ones. Avoid unnecessary bends or loops that can cause interference. This simple step can save you troubleshooting headaches later.
Ensuring Thermal Management
Heat is a silent enemy of electronics. Place heat-generating components like power transistors or voltage regulators where air can circulate freely. Avoid clustering hot parts together; this prevents hotspots that can damage your board.
Adding heat sinks or thermal pads is helpful, but good placement reduces the need for extra cooling. You can also position temperature-sensitive parts away from heat sources to protect them.
Have you ever had a circuit fail just because it got too hot? Proper spacing might have prevented that failure.
Prioritizing Accessibility
Easy access to components speeds up testing, repairs, and upgrades. Place frequently adjusted parts like potentiometers or connectors near the edge of the board. This saves you from desoldering or dismantling your entire setup.
Think about how you’ll debug the circuit. Can you easily reach test points or jumpers? If not, rearranging now can save hours in the future.
Labeling components and leaving enough space around them makes your work cleaner and less frustrating. Accessibility isn’t just convenience—it’s a key to long-term success.
Utilizing Design Software
Utilizing design software can transform how you arrange electronic components. These tools help you visualize your circuit before physically assembling it, saving time and reducing errors. They also allow precise placement, routing, and simulation, making your design process smoother and more efficient.
Popular Tools For Layout Design
Several design software options stand out for arranging electronic components. Each tool offers unique features suited to different needs and skill levels.
- Eagle PCB:Great for beginners and professionals, it offers an intuitive interface and extensive libraries.
- KiCad:Open-source and free, perfect if you want powerful features without cost.
- Altium Designer:A high-end tool favored by professionals for complex designs and advanced simulation.
- Fritzing:Excellent for hobbyists, it provides a breadboard view that’s easy to understand.
Which tool feels right for your current project? Try a couple to see which interface you prefer.
Tips For Effective Software Use
Maximize your design software by organizing components logically. Group related parts and keep power and ground paths short to reduce noise issues.
Use the software’s alignment and grid tools to maintain neatness. This helps avoid confusion during assembly and troubleshooting.
Run simulations if your software supports them. They catch problems early, saving you from costly physical fixes.
Don’t forget to frequently save your work and back up your files. Losing hours of design progress to a crash can be frustrating.
Have you explored shortcut keys and customization options? Learning these can speed up your workflow significantly.
Design Rules And Constraints
Design rules and constraints guide the proper arrangement of electronic components. They ensure the circuit works well and is safe. Following these rules avoids errors during manufacturing and operation.
Design rules include spacing between parts, trace widths, and component placement. Constraints limit how components fit in the board size or how signals run. Understanding these helps create effective and reliable layouts.
Understanding Design Guidelines
Design guidelines set the basic standards for arranging components. They cover electrical, mechanical, and thermal needs. Key points to consider:
- Minimum distance between components to prevent shorts.
- Proper trace width to carry current without overheating.
- Component orientation for easy assembly and testing.
- Thermal management to avoid hotspots.
- Clear labeling for maintenance and troubleshooting.
Following guidelines reduces mistakes and improves product quality. They also help meet industry standards and customer expectations.
Setting Up Constraints In Software
Design software lets you set constraints to control layout rules. These constraints act as limits during the design process. Common constraints include:
- Board size and shape restrictions.
- Component placement zones.
- Electrical clearances and trace widths.
- Signal integrity rules like length matching.
- Power and ground net rules.
Applying constraints early helps catch errors fast. The software alerts you if rules break. This saves time and reduces costly redesigns.
Testing And Prototyping
Testing and prototyping are essential in arranging electronic components. They help find errors early and improve design quality. Prototyping turns ideas into real circuits for hands-on testing. Testing checks if the circuit works as planned and meets performance goals.
Creating Prototypes
Start by gathering all electronic parts needed for your design. Use a breadboard or similar platform to place components without soldering. Connect components carefully following your circuit diagram. Keep wires neat to avoid confusion and shorts. Test basic functions before adding more parts. This approach saves time and reduces mistakes.
Testing For Performance
Use a multimeter to measure voltage, current, and resistance across components. Check connections to ensure proper contact and avoid loose ends. Observe the circuit’s behavior under different conditions, like varying power supply or input signals. Note any overheating or unusual sounds from components. Record test results to track improvements and changes. Repeat tests after adjustments to confirm stability and reliability.
Common Mistakes To Avoid
Arranging electronic components needs care and precision. Avoiding common mistakes saves time and prevents damage. Understanding these errors helps create clean and effective circuits.
Ignoring Component Orientation
Many components have a specific direction for correct operation. Placing them backward can cause circuit failure or damage. Double-check the orientation marks before soldering or connecting.
Overcrowding The Board
Trying to fit too many parts in a small area leads to messy layouts. It makes troubleshooting difficult and increases the chance of shorts. Leave enough space for wiring and heat dissipation.
Skipping Proper Labeling
Not labeling components or wires confuses future repairs or upgrades. Use clear labels or a schematic reference. It helps identify parts quickly without guesswork.
Using Inconsistent Component Sizes
Mixing different sizes of components creates alignment problems. It complicates soldering and may weaken connections. Choose uniform sizes for resistors, capacitors, and other parts.
Neglecting Power And Ground Paths
Ignoring proper routing of power and ground lines causes noise and instability. Make these paths short and thick for better performance. Poor grounding can damage sensitive parts.
Failing To Test Before Final Assembly
Skipping tests after placing components risks hidden faults. Test each section before soldering all parts. It saves time and prevents costly rework.
Frequently Asked Questions
How Do I Organize Electronic Components Efficiently?
Sort components by type, size, and usage frequency. Use labeled bins or drawers for easy access. Keep similar items together to save time and avoid confusion during projects.
What Tools Help In Arranging Electronic Parts Properly?
Use component organizers, anti-static trays, and storage boxes. Label each compartment clearly. A good toolkit with tweezers and pliers also aids in handling small parts safely.
How Can I Prevent Damage To Electronic Components?
Store components in anti-static bags or containers. Avoid exposure to moisture and extreme temperatures. Handle parts gently to prevent bending or breaking delicate pins.
Why Is Labeling Electronic Components Important?
Labeling ensures quick identification and reduces assembly errors. It saves time during repairs and upgrades. Clear labels help maintain inventory and avoid mixing similar parts.
Conclusion
Arranging electronic components carefully saves time and avoids mistakes. Keep parts organized by type and size. Use labels to find what you need quickly. Plan your layout before starting any project. Clean workspaces help keep components safe and easy to handle.
Small steps lead to better results and less frustration. Practice makes it easier to arrange parts smoothly. Stay patient and enjoy building your circuits. This approach helps both beginners and experts work well. Simple habits improve your electronics work every time.