How to Make Electronic Door Lock at Home: Easy DIY Security Guide
Imagine the convenience of a door that unlocks with a simple code or a tap on your smartphone. No more fumbling for keys or worrying about losing them.
Creating your own electronic door lock at home is not just a fun DIY project; it’s a step towards a smarter, more secure home environment. You might think it’s a task reserved for tech experts, but with the right guidance, you can do it too.
This guide will walk you through the process, offering simple steps and tips to ensure success. Dive in and discover how you can enhance your home’s security and impress your friends with your newfound tech skills!
Materials Needed
Gathering the right materials is crucial before making your electronic door lock. Each component plays a role in ensuring the lock works smoothly and safely. Prepare all parts and tools to save time and avoid interruptions during assembly.
Electronic Components
- Microcontroller (e.g., Arduino or Raspberry Pi)
- Electric strike or solenoid lock
- Keypad or RFID reader
- Power supply (battery or adapter)
- Wires and connectors
- Resistors and capacitors
- Transistors or relays
- Breadboard or PCB for circuit assembly
Tools Required
- Soldering iron and solder
- Wire stripper and cutter
- Screwdrivers (Phillips and flathead)
- Multimeter for testing
- Drill with bits for mounting
- Hot glue gun (optional for securing parts)
- Small pliers or tweezers
Safety Gear
- Safety goggles to protect eyes
- Insulated gloves to avoid electric shocks
- Mask to prevent inhaling solder fumes
- Fire extinguisher nearby in case of emergencies
- Well-ventilated workspace for soldering
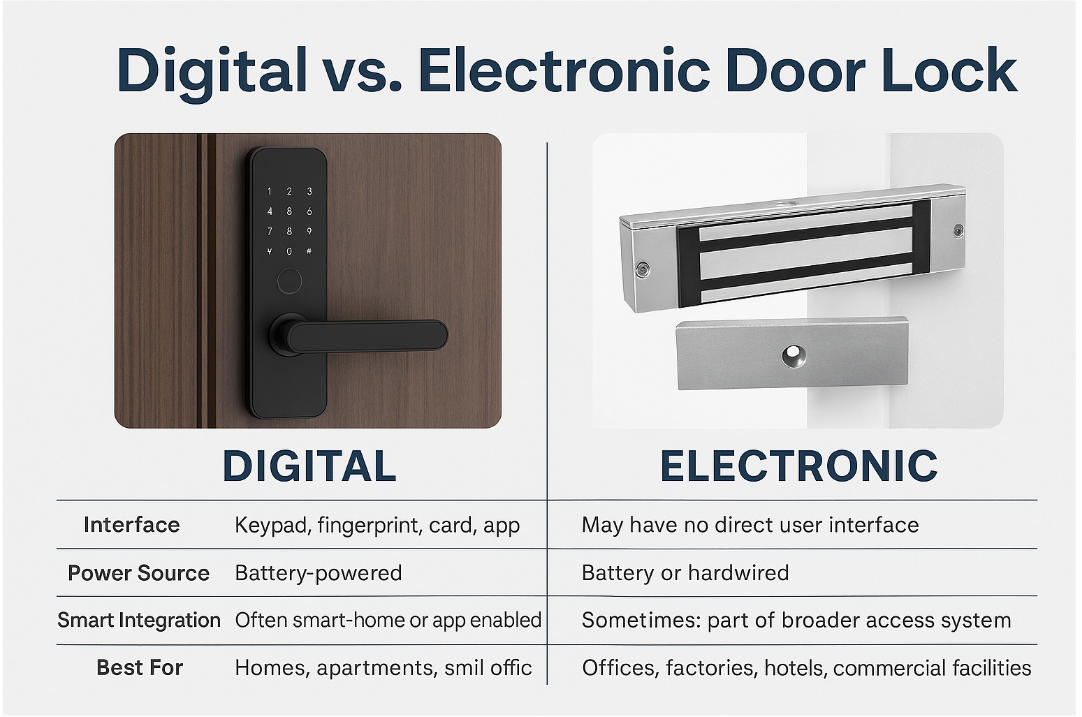
Credit: yonannlock.com
Choosing The Lock Type
Choosing the right lock type is essential before making an electronic door lock at home. Your choice affects security, convenience, and the complexity of your project. Think about how you want to use the lock daily and what features matter most to you.
Keypad Locks
Keypad locks let you enter a code to open the door. They are simple to set up and don’t require carrying keys. You can easily change the code if you want to control who has access.
One thing I learned is to avoid long, complicated codes. Short, memorable codes work better because you won’t forget them under stress. Are you ready to manage code changes regularly?
Rfid Locks
RFID locks use cards or fobs to grant access. These are great if you prefer swiping over typing. They add a layer of convenience, especially if you don’t want to share codes with guests.
Building an RFID lock involves programming a reader and handling electronic components. If you enjoy working with hardware, this could be a fun challenge. Do you have spare RFID cards or tags to test with?
Biometric Options
Biometric locks use fingerprints or other physical traits for unlocking. They offer high security because biometric data is unique to you. However, they require more advanced sensors and programming skills.
If you want a futuristic feel and strong security, biometrics are worth considering. But ask yourself if you’re comfortable working with sensitive data and troubleshooting sensor accuracy. Have you checked if your door setup can support biometric hardware?
Basic Wiring Setup
Setting up the basic wiring is a key part of making an electronic door lock at home. It links all the parts so the lock works smoothly. This setup requires careful attention to detail to ensure safety and function.
The wiring connects the power source, control circuit, and locking mechanism. Proper connections prevent short circuits and power loss. Follow clear steps to build a strong and reliable system.
Power Supply Connection
Start by selecting the right power supply. Most electronic locks use 12V DC adapters or batteries. Check the voltage and current needed by your lock.
Connect the positive wire from the power supply to the circuit’s positive input. Connect the negative wire to the circuit’s ground. Use insulated wires to avoid accidental shorts.
Secure all connections with solder or wire connectors. Loose wires can cause the lock to fail or behave erratically.
Circuit Assembly
Assemble the circuit on a breadboard or PCB. Place components like the microcontroller, relay, and sensor in their correct spots. Follow the circuit diagram closely.
Use jumper wires to link the components. Ensure each wire matches the diagram to avoid errors. Double-check the polarity of diodes and capacitors.
Keep wires neat and short. This reduces interference and makes troubleshooting easier. Avoid crossing wires unnecessarily.
Testing Connections
Test the wiring before final installation. Use a multimeter to check voltage at key points. Verify continuity between connected pins.
Power the circuit and watch for signs of correct operation. The relay should click when triggered. Sensors must respond as expected.
Fix any loose or wrong connections immediately. Testing saves time and prevents damage to parts later on.

Credit: www.youtube.com
Programming The Lock
Programming the electronic door lock is where your project truly comes to life. It’s the moment you translate your security ideas into actions that control the lock’s behavior. This step demands attention to detail and a good grasp of basic coding principles to ensure your lock responds correctly to commands.
Microcontroller Basics
Your lock’s brain is the microcontroller, a small but powerful chip that processes input and controls output. Popular choices like Arduino or ESP32 are beginner-friendly and have plenty of online resources. Understanding pins, power supply, and communication protocols will help you connect sensors and actuators properly.
Think about how the microcontroller reads a keypad or a fingerprint sensor. It receives signals, processes them, and decides whether to unlock the door. Knowing this interaction helps you plan your code and hardware setup efficiently.
Writing The Code
Start by defining what actions you want your lock to perform. For example, unlocking on the correct code entry or triggering an alarm on multiple failed attempts. Writing clear, concise code with comments will make troubleshooting easier later.
Use simple conditional statements to check inputs and control outputs. Break the code into smaller functions, such as reading the keypad, verifying the password, and activating the lock mechanism. This structure keeps your program organized and manageable.
Uploading And Debugging
Once your code is ready, upload it to the microcontroller using the IDE software. Ensure your device is properly connected via USB or serial interface. If the lock doesn’t behave as expected, debug step-by-step by adding print statements or using debugging tools.
Don’t get discouraged by initial errors—they’re part of the learning process. Ask yourself: Are inputs read correctly? Are outputs triggered when they should be? Testing with different scenarios will help you catch hidden bugs and improve reliability.
Mounting The Lock
Mounting the electronic door lock is a crucial stage that determines how well your DIY project will function and last. Proper mounting ensures the lock operates smoothly and securely, protecting your home effectively. Let’s dive into the essential steps to get your lock firmly in place.
Preparing The Door
Start by checking your door’s material and thickness to confirm compatibility with your lock. Mark precise spots for drilling, focusing on alignment with the lock’s components. Use a template if available—it keeps everything straight and saves time.
Clear the drilling area of any dirt or debris to avoid mistakes. Double-check measurements before you drill; even a small error can cause the lock to misalign or jam. Have your drill bits and tools ready to make the process smooth.
Installing The Lock Mechanism
Place the lock mechanism into the prepared hole and see how it fits. It should sit flush with the door surface without any gaps. If it feels loose, use shims or adjust the hole size carefully to achieve a tight fit.
Attach the lock using screws provided, tightening them evenly to avoid warping the lock. Test the lock’s movement as you install—this helps catch any issues early. You want the bolt to slide effortlessly without resistance.
Securing The Wiring
Route the wiring through the door carefully, avoiding sharp bends that could damage the cables. Use cable clips or small adhesive mounts to keep wires neat and secure inside the door frame. Loose wires can cause failures or short circuits over time.
Connect the wires according to your lock’s manual, matching colors and terminals precisely. Before sealing everything up, test the electronic functions to confirm power and signal flow. A quick test now saves troubleshooting headaches later.
Have you thought about how keeping wires tidy inside the door could extend your lock’s lifespan? It’s a small detail that makes a big difference in reliability.
Adding Security Features
Adding security features to your homemade electronic door lock can significantly boost its effectiveness. These enhancements not only protect your home but also give you peace of mind. Let’s dive into some practical ways to make your lock smarter and more secure.
Alarm Integration
Connecting an alarm system to your electronic door lock adds an immediate alert when unauthorized access is attempted. You can use a simple buzzer or a loud siren, depending on your preference and budget.
For instance, wiring a small 12V alarm to trigger when the lock sensor detects forced entry can scare off intruders quickly. It’s a straightforward addition that doesn’t require complicated programming.
Have you considered how loud the alarm should be? Too quiet might go unnoticed, but too loud could disturb neighbors unnecessarily. Finding a balance is key.
Remote Access Setup
Remote access lets you control your door lock from anywhere using your smartphone or computer. This feature is great for letting in guests or service providers without being home.
Using affordable Wi-Fi modules like the ESP8266 or Bluetooth components, you can build a system that communicates with your lock. Pair this with a simple app or web interface to lock or unlock your door remotely.
Think about the security of your remote access—are you using strong passwords and encryption? Protecting your connection prevents hackers from gaining control.
Backup Power Options
Power outages shouldn’t leave you locked out or unsecured. Adding a backup power source ensures your electronic lock keeps working during blackouts.
Common choices include rechargeable batteries or a UPS (Uninterruptible Power Supply). You can even connect solar panels for a sustainable backup solution.
Test your backup system regularly to make sure it kicks in smoothly. How would you handle a sudden power failure at night? Being prepared avoids frustration and potential security risks.
Testing And Troubleshooting
Testing and troubleshooting your homemade electronic door lock is crucial to ensure it works reliably and keeps your home secure. Skipping this step can lead to unexpected lock failures or security gaps. Taking time to carefully check each function and solve problems early will save you frustration and improve your DIY project’s performance.
Functionality Checks
Start by verifying every part of your lock system works as intended. Test the keypad or fingerprint scanner by entering correct and incorrect codes to see if the lock responds properly.
Check the motor or solenoid that controls the locking mechanism. Does it engage and release smoothly without any hesitation or noise?
Don’t forget the power supply. Make sure batteries or adapters provide consistent voltage under different conditions.
Common Issues
One frequent problem is the lock not responding to input. This could be caused by loose wiring or a weak power source. Double-check all connections and replace batteries if needed.
If the locking mechanism sticks or jams, inspect for mechanical obstructions or misalignment in the door frame. Even a small shift can prevent smooth operation.
Software glitches, like incorrect code recognition, often happen due to programming errors. Review your code carefully and test multiple scenarios to catch bugs.
Maintenance Tips
Regular maintenance keeps your electronic lock reliable over time. Clean the keypad or scanner gently with a soft cloth to avoid dirt buildup that can affect sensitivity.
Lubricate moving parts with a light oil every few months to prevent sticking. Avoid heavy greases that can attract dust.
Test your lock periodically, even if it seems fine. Early detection of issues helps you fix problems before they cause lockouts or security risks.
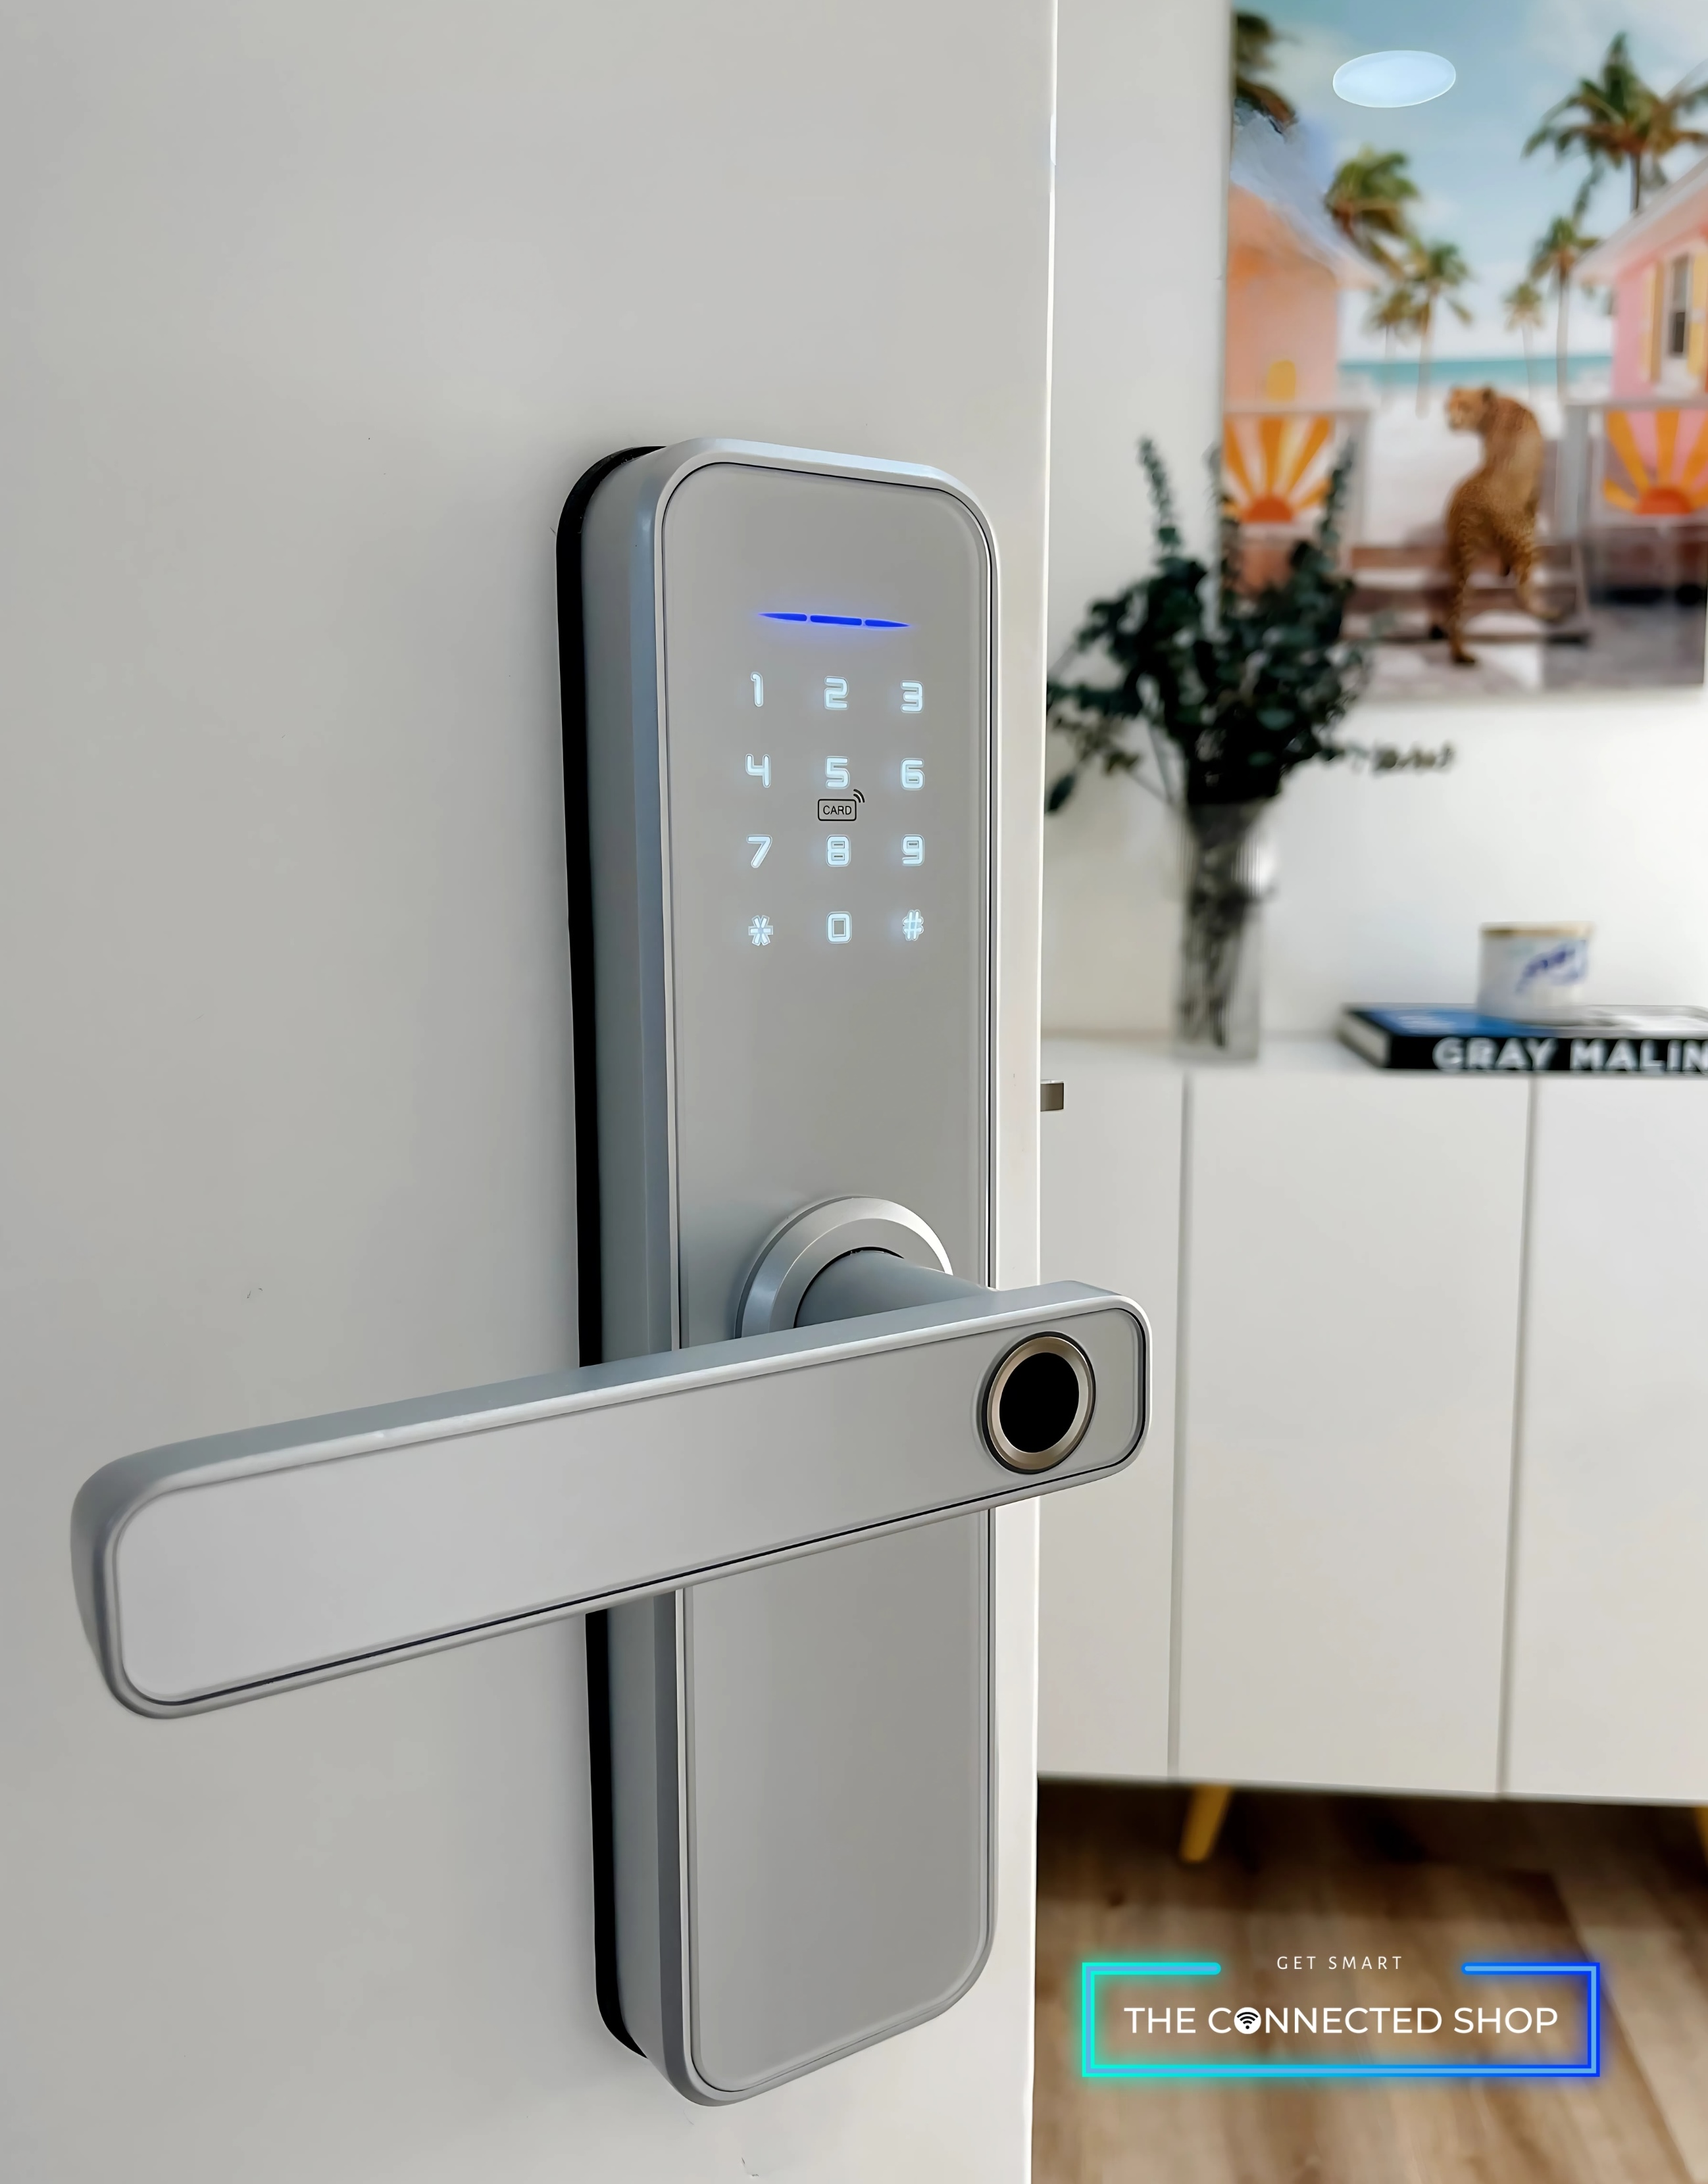
Credit: www.newswire.com
Frequently Asked Questions
What Tools Are Needed To Make An Electronic Door Lock?
You need a microcontroller, servo motor, keypad, wires, breadboard, and power supply. Basic soldering and programming tools help too.
How Does An Electronic Door Lock Work At Home?
It uses a keypad to enter a code, which the microcontroller verifies. If correct, it activates the motor to unlock the door.
Can I Secure My Home With A Diy Electronic Door Lock?
Yes, DIY locks provide basic security. For higher security, combine them with additional sensors or professional-grade locks.
How Do I Program The Microcontroller For The Lock?
Use Arduino or similar platforms. Write code to read keypad input, verify passwords, and control the lock motor.
Conclusion
Building an electronic door lock at home is simple and fun. You only need basic tools and parts. Follow the steps carefully to ensure safety and function. This project saves money and teaches useful skills. Enjoy the feeling of creating something useful yourself.
Keep your home secure with your new lock. Try different designs to fit your needs. Stay safe and confident with your DIY lock.