How to Mix And Master Electronic Music from Home: Ultimate Guide
Imagine having the power to transform your raw electronic tracks into polished masterpieces, all from the comfort of your home. The world of music production has never been more accessible, and you’re at the forefront of this exciting revolution.
You might be wondering how you can mix and master your electronic music effectively without the need for an expensive studio. The answer lies in the right techniques and tools, which can elevate your music to professional levels. In this guide, you’ll discover simple, practical steps to take your tracks from good to unforgettable.
With easy-to-understand tips tailored just for you, you’ll unlock the secrets to creating music that captivates and resonates with your audience. Keep reading, and let’s transform your home studio into a powerhouse of creativity and sound excellence.

Credit: www.youtube.com
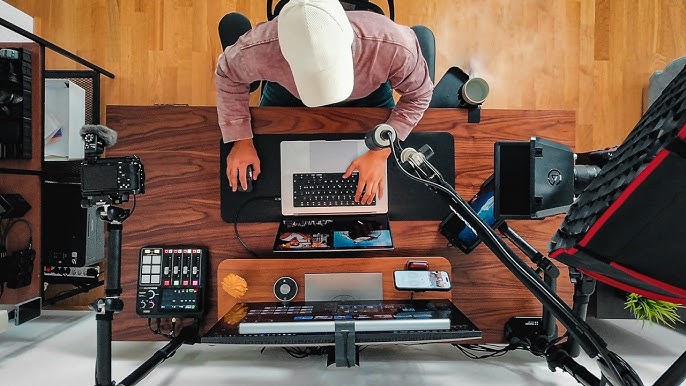
Setting Up Your Home Studio
Setting up your home studio is the foundation for mixing and mastering electronic music effectively. It’s not just about having gear; it’s about creating an environment where you can hear every detail clearly and work comfortably. A well-organized space helps you focus and brings your creative ideas to life.
Choosing The Right Equipment
Your gear choice shapes your sound. Start with a good pair of studio monitors or headphones that offer a flat frequency response. This lets you hear the true mix without colored sound.
Consider an audio interface with low latency and reliable drivers to connect your instruments and microphones. Don’t overlook MIDI controllers, which speed up workflow and give you hands-on control.
Think about your budget but prioritize quality over quantity. Having a few reliable tools beats owning a pile of gear you rarely use.
Acoustic Treatment Tips
Room acoustics can make or break your mix. Hard surfaces cause reflections and echoes that confuse your ears.
Add acoustic panels or foam to your walls at first reflection points to reduce these issues. Bass traps in corners help control low frequencies, which tend to build up and muddy your sound.
If you can’t invest much, simple solutions like heavy curtains, rugs, or bookshelves can improve your room’s sound. How does your room sound right now—echoey, boomy, or tight? Listen carefully and adjust accordingly.
Essential Software And Plugins
Your DAW (Digital Audio Workstation) is the heart of your setup. Choose one that feels intuitive and fits your workflow, like Ableton Live, FL Studio, or Logic Pro.
Plugins are your sonic toolbox. Start with quality EQs, compressors, and reverb units. Many free or affordable plugins offer professional results.
Learn to use plugins creatively but don’t overload your mix. Sometimes, less is more when shaping your sound.
Preparing Your Tracks For Mixing
Preparing your tracks for mixing is a crucial step that sets the foundation for a clean, professional sound. It’s all about getting everything in order before you dive into the creative part of mixing. Taking the time to organize, clean, and balance your audio early on can save you hours of frustration later.
Organizing Your Sessions
Start by grouping similar tracks together, like drums, synths, vocals, and effects. Use clear and consistent naming conventions—avoid vague names like “audio_01.” Instead, name tracks based on their role, such as “Kick Drum” or “Lead Synth.”
Color coding tracks can also help you visually separate different elements. This makes it easier to find what you need quickly and keeps your workflow smooth. When you open a messy session, do you feel overwhelmed? Organizing your session can turn that chaos into clarity.
Cleaning Up Audio Clips
Remove any unwanted noise or silence from your clips. Trim the beginnings and ends to avoid accidental overlaps or clicks. Use fade-ins and fade-outs to smooth transitions between clips.
Check for any tuning or timing issues early and fix them before mixing. This step might seem tedious, but it prevents bigger problems down the line. Have you ever wasted time mixing a noisy recording? Cleaning your clips first keeps your mix focused and clear.
Balancing Levels Early On
Set rough volume levels for each track to get a basic balance. Don’t aim for perfection yet—just ensure no track is overpowering or buried. This early balance helps you hear how the elements interact and guides your mixing decisions.
Use your ears, not just meters, to judge the balance. Listen on different speakers or headphones to catch any issues. If a track feels too loud or soft, adjust it now instead of later. Have you noticed how a simple volume tweak can change the entire feel of a track?
Mixing Techniques For Electronic Music
Mixing electronic music is about balancing elements to create a powerful, clear, and engaging sound. You want each synth, drum, and vocal to shine without clashing or sounding muddy. Let’s dive into some practical mixing techniques that can help you achieve that polished sound right from your home studio.
Eq Strategies For Clarity
EQ is your best friend for creating space in your mix. Start by cutting frequencies that clutter your sounds rather than just boosting others. For instance, removing low-end rumble from synths that don’t need bass can free up room for your kick drum.
Try using a high-pass filter on non-bass elements to clean up unnecessary lows. Also, use narrow cuts to reduce frequencies where instruments overlap and cause muddiness. Listen carefully: sometimes a small cut of 2-3 dB makes a huge difference.
Using Compression Effectively
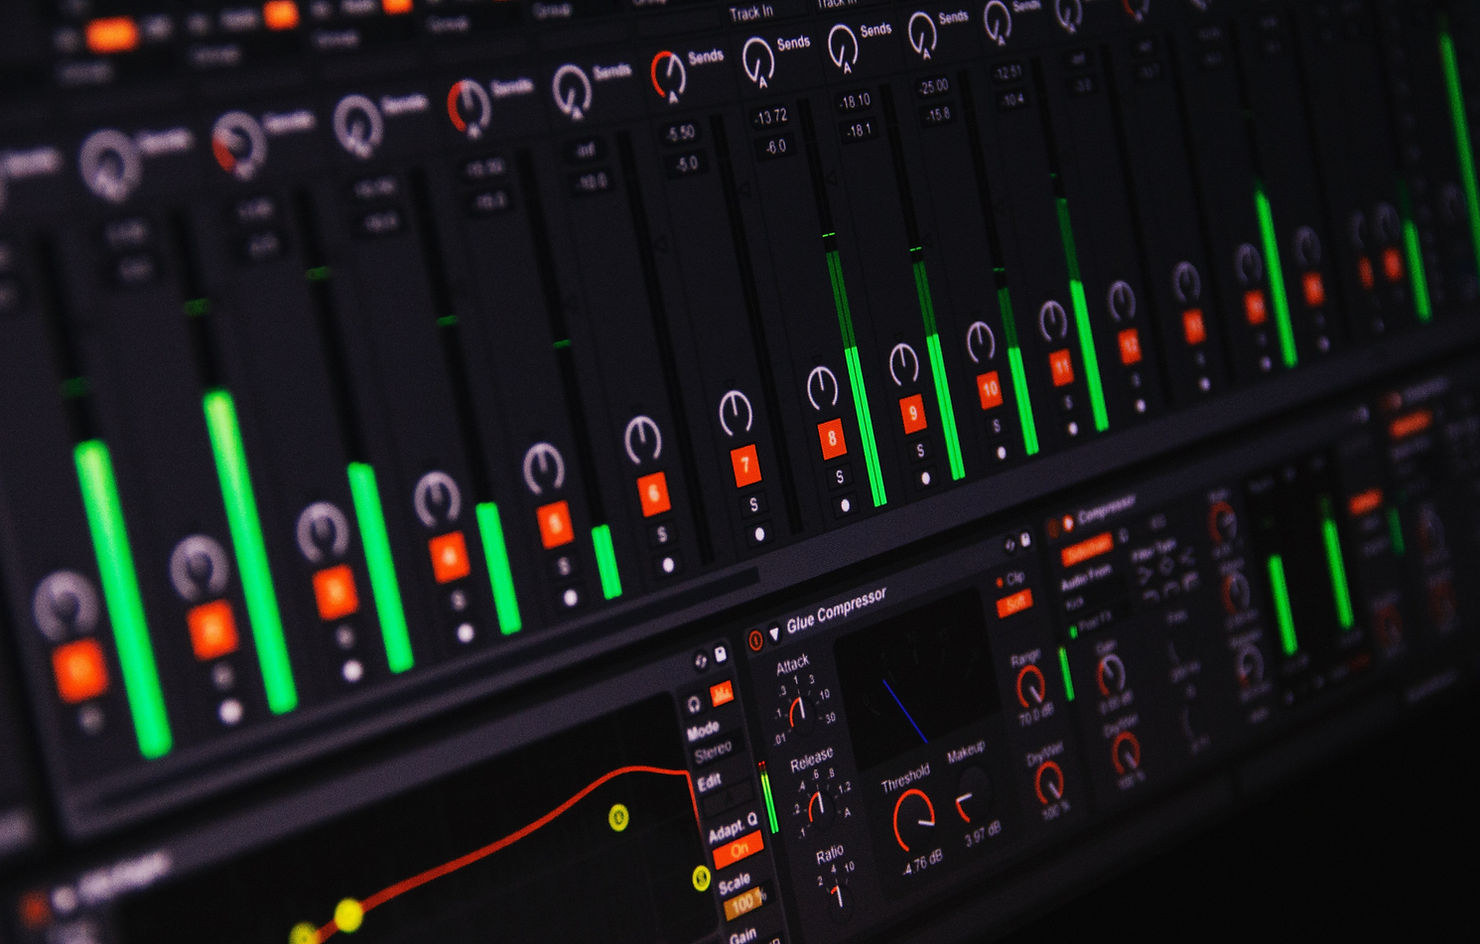
Compression controls dynamics and adds punch, but overdoing it kills the vibe. Use it to tame peaks on drums or bass, ensuring they sit consistently in the mix. Avoid squashing your synths too much; preserving their natural movement keeps the track lively.
Experiment with attack and release times. A fast attack can soften transient hits, while a slower attack lets them punch through. Think about sidechain compression—not just for pumping effects but to create space, such as ducking the bass slightly when the kick hits.
Creative Use Of Effects
Effects can transform ordinary sounds into captivating elements. Delay and reverb add depth, but too much can wash out your mix. Use short delays or subtle reverbs on percussive sounds to give them presence without blurring their impact.
Try modulating effects like chorus or phaser on pads or leads to add movement. Automate effects parameters to keep your track evolving and avoid a static feel. What unique effect could you tweak to give your sound a signature twist?
Stereo Imaging And Panning
Proper stereo placement helps each sound find its own space. Pan your hi-hats and percussion slightly left or right to create width, while keeping your bass and kick centered for solid foundation. Avoid hard panning important elements—subtlety often sounds more natural.
Use stereo widening tools carefully; too much can cause phase issues on mono playback. Listen on different systems to ensure your mix translates well everywhere. How wide can your mix get before it loses focus?
Credit: mastering.com
Mastering Essentials At Home
Mastering your electronic music at home can feel challenging, but focusing on a few key essentials makes a big difference. These essentials help you create a track that sounds professional and balanced across different playback systems. Understanding loudness, equalization, limiting, and monitoring is crucial to achieving that polished final sound.
Loudness And Dynamics Control
Controlling loudness and dynamics is about finding the right balance between energy and clarity. You want your track to be loud enough to compete with commercial releases but still retain dynamic range. Overcompressing can make your music sound flat and lifeless, so use compressors and volume automation carefully.
Think about how the different parts of your track interact. Does the drop hit hard enough? Are the quieter sections still audible without losing impact? Adjust your dynamics to keep listeners engaged throughout.
Equalization For Final Polish
Equalization (EQ) is your tool for cleaning up and enhancing the overall sound. At the mastering stage, use subtle EQ moves to fix any frequency imbalances. For example, gently reduce muddiness in the low-mids or brighten the highs without making them harsh.
Try sweeping through frequencies with a narrow Q to find problem areas before cutting or boosting. Remember, small adjustments can make a big difference at this stage. Your goal is to make the track sound cohesive and clear on all systems.
Applying Limiting Without Distortion
Limiting is essential for maximizing loudness, but it’s easy to introduce distortion if you push too hard. Set your limiter’s threshold so it only engages on the loudest peaks, preserving the track’s natural feel. Avoid cranking the output gain without checking for clipping or harshness.
Listen closely to the transients and overall tone while limiting. If your track starts sounding squashed or distorted, dial back the limiter or tweak your compressor settings earlier in the chain. A clean, punchy master comes from careful limiting, not just loudness.
Reference Tracks And Monitoring
Using reference tracks is one of the smartest ways to stay on track during mastering. Choose songs that share a similar style and sound quality to your target. Compare your mix regularly to these references to catch issues like imbalance or lack of clarity.
Good monitoring is just as important. Invest in decent headphones or speakers, and check your work on multiple devices. Could your track sound great on your studio monitors but muddy on a phone speaker? Testing widely ensures your music translates well everywhere.
Troubleshooting Common Issues
Troubleshooting is key in mixing and mastering electronic music. Many common issues can stop your track from sounding clear and professional. Knowing how to fix these problems saves time and improves your sound.
Issues like muddy mixes, harsh frequencies, and overcompression often occur. Each affects the overall balance and feel of your music. Understanding simple fixes helps create a cleaner and more polished final product.
Fixing Muddy Mixes
Mud happens when low frequencies overlap and cloud the sound. It makes the mix feel dull and unclear. Use an equalizer to cut some low-end from instruments that don’t need it.
- High-pass filter on tracks like synths and vocals
- Reduce bass frequencies on non-bass elements
- Boost bass on the kick drum and bass guitar carefully
Leave space in the low end for important sounds. This clears up muddiness and adds punch to your mix.
Dealing With Harsh Frequencies
Harshness can make music sound unpleasant or fatiguing. Identify sharp frequencies using a narrow EQ band. Cut these frequencies slightly to smooth out the sound.
- Focus on 2kHz to 6kHz range for harshness
- Use gentle cuts instead of boosting other frequencies
- Listen at moderate volume levels to catch harsh spots
Softer high frequencies create a more natural and enjoyable mix.
Avoiding Overcompression
Overcompression squeezes dynamic range too much. This makes tracks sound flat and lifeless. Use compression to control peaks but keep some natural dynamics.
- Set moderate ratio values (around 3:1 or less)
- Use slow attack and release times for smooth compression
- Check gain reduction meters to avoid excessive reduction
Balance compression to maintain energy and clarity in your music.
Tips For Continuous Improvement
Improving your mixing and mastering skills is a constant journey. Small, steady steps build strong results over time. Focus on practices that sharpen your ear and expand your knowledge. Embrace habits that keep you open to new ideas and challenges. Consistency in learning helps you grow as a music producer at home.
Critical Listening Practices
Developing a critical ear is essential for mixing electronic music. Listen to your tracks on different speakers and headphones. Notice details like balance, clarity, and depth. Take breaks to avoid ear fatigue and return with fresh ears. Compare your mixes with professional tracks to find gaps. Use reference tracks to guide your decisions and improve accuracy.
Seeking Feedback And Collaboration
Getting input from others can reveal new perspectives. Share your mixes with friends, online communities, or mentors. Accept both praise and critique with an open mind. Collaborate with other producers to exchange ideas and techniques. Working with others helps you spot mistakes you might miss alone. Feedback encourages growth and pushes your skills forward.
Staying Updated With Trends
Electronic music constantly evolves with new styles and tools. Follow blogs, tutorials, and forums to stay informed. Experiment with new plugins and software updates. Try different mixing techniques to keep your sound fresh. Understanding current trends helps you create relevant music. Keep learning to adapt and improve your mixes over time.

Credit: www.youtube.com
Frequently Asked Questions
What Equipment Is Essential For Home Electronic Music Mixing?
Essential equipment includes a good computer, DAW software, audio interface, studio monitors, and headphones. Optional gear includes MIDI controllers and plugins for enhanced sound quality.
How Do I Start Mastering Electronic Music At Home?
Start mastering by balancing levels, equalizing frequencies, applying compression, and adding limiting. Use reference tracks to compare and ensure your track sounds polished and professional.
Which Daw Is Best For Mixing Electronic Music?
Popular DAWs for electronic music include Ableton Live, FL Studio, and Logic Pro. Choose one that suits your workflow, budget, and offers necessary plugins for mixing and mastering.
How Can I Improve My Mix Clarity In Electronic Music?
Improve clarity by using EQ to remove unwanted frequencies, panning instruments, and applying sidechain compression. Keep your mix balanced and avoid overcrowding the frequency spectrum.
Conclusion
Mixing and mastering electronic music at home takes time and patience. Start with clear sounds and simple tools. Listen carefully and adjust each part step by step. Use your ears more than your eyes. Practice often to improve your skills.
Trust your own style and ideas. Enjoy the process of creating your music. Keep learning and trying new things. Your sound will get better with each song you finish. Stay focused and have fun making music at home.