How to Troubleshoot Electronic Components Pdf: Ultimate Guide
Are you struggling to find clear, simple ways to fix your electronic components? Imagine having a handy PDF guide that walks you through troubleshooting step by step.
This article is designed just for you—breaking down complex problems into easy actions you can take right now. By the end, you’ll feel confident handling those tricky electronic issues yourself. Keep reading to discover practical tips that save you time, money, and frustration!
Importance Of Troubleshooting Skills
Troubleshooting skills play a vital role in working with electronic components. These skills help identify and fix problems quickly and accurately. Without strong troubleshooting abilities, small issues can cause big delays or damage.
Good troubleshooting saves time and money. It improves understanding of how electronic parts work together. It also builds confidence in handling electronic devices and systems.
Enhances Problem-solving Efficiency
Strong troubleshooting skills allow faster detection of faults. This reduces downtime and keeps projects on track. Clear steps help avoid guesswork and repeated errors. Efficient problem solving leads to better repair results.
Reduces Cost And Waste
Pinpointing issues early stops unnecessary replacements of parts. It avoids extra purchases and lowers repair expenses. Proper troubleshooting extends the life of electronic devices. It also supports sustainable use of resources.
Builds Technical Knowledge
Troubleshooting involves learning how circuits and components function. It deepens understanding of electronics theory and practical use. Each problem solved adds to technical expertise. This knowledge helps in future repairs and innovations.
Improves Safety
Identifying faults correctly prevents hazards like short circuits or overheating. Safe troubleshooting protects both the user and the device. It encourages careful handling of electronic equipment. Safety awareness is a key benefit of good troubleshooting.
Essential Tools For Troubleshooting
Having the right tools can make troubleshooting electronic components much easier and more accurate. Without them, you might waste time guessing what’s wrong or even cause more damage. Let’s look at some essential tools that will help you test, diagnose, and fix electronic circuits effectively.
Multimeters And Testers
A multimeter is your best friend when checking circuits. It measures voltage, current, and resistance, which helps you find broken or faulty components quickly.
Basic multimeters are affordable and easy to use, while advanced models offer features like continuity testing and diode checks. Think about the last time you struggled to find a bad resistor—having a multimeter would have saved you hours.
Testers come in handy too, especially when you need to check specific components like capacitors or transistors. If you don’t have one, consider investing in a dedicated component tester to speed up your troubleshooting.
Oscilloscopes
An oscilloscope lets you see electrical signals as waveforms. This visual feedback reveals problems like noise, signal distortion, or timing issues that a multimeter can’t detect.
Using an oscilloscope might seem intimidating at first, but even basic knowledge can help you spot irregularities in power supplies or signal flows. Have you ever wondered why a circuit works intermittently? An oscilloscope could show you the culprit signal fluctuations.
Portable or USB oscilloscopes are great for beginners and small projects, providing a balance between functionality and cost.
Soldering Equipment
Good soldering tools are crucial for fixing or replacing electronic parts. A reliable soldering iron with adjustable temperature control lets you work cleanly without damaging components.
Besides the iron, you’ll need solder wire, flux, and a desoldering pump or braid to remove old solder efficiently. I once struggled with cold solder joints until I switched to a better iron and flux—it made all the difference in my repair success.
Investing in a quality soldering station ensures your repairs last longer and your troubleshooting process is smoother.
Common Electronic Components And Issues
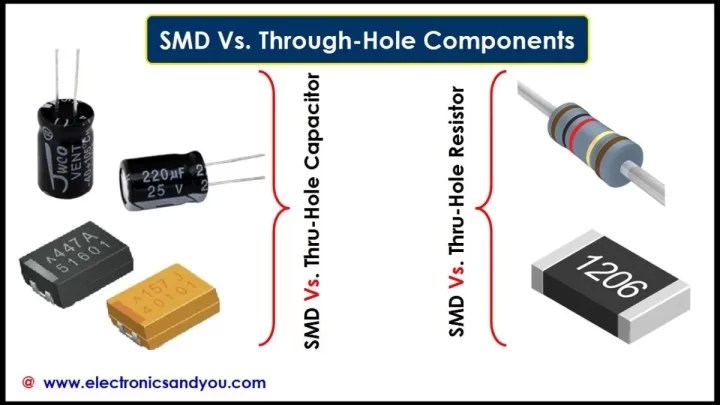
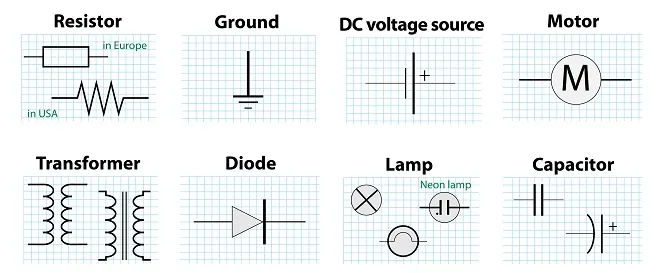
Common electronic components form the backbone of most devices. Each has unique functions and common issues that affect performance. Understanding these parts helps in quick troubleshooting. Here are some typical components and their usual problems.
Resistors And Capacitors
Resistors control electric current flow. Overheating can cause resistors to fail or change value. This leads to circuit errors or device malfunction.
Capacitors store and release electrical energy. Common issues include leakage, bulging, or complete failure. Faulty capacitors cause power instability or noise in circuits.
Transistors And Diodes
Transistors act as switches or amplifiers. They fail due to overheating or electrical stress. A damaged transistor may stop signal flow or distort output.
Diodes allow current to flow in one direction. They can short circuit or open circuit. Faulty diodes result in reversed current or no current flow.
Integrated Circuits
Integrated circuits contain many components in one chip. Issues include overheating, physical damage, or manufacturing defects. Faulty ICs cause complex device failures or erratic behavior.
Checking for visible damage and using a multimeter helps identify problems in ICs quickly.
Credit: www.electronicsandyou.com
Step-by-step Troubleshooting Process
Troubleshooting electronic components requires a clear and organized process. Each step helps find the root cause of the issue. This approach saves time and prevents further damage. Follow the steps carefully to diagnose and fix problems effectively.
Identifying The Problem
Start by observing the device’s symptoms. Note any unusual sounds, smells, or behavior. Check if the device powers on or shows error signs. Use a checklist to record all findings. This helps narrow down the possible causes.
Testing Components
Use a multimeter to check voltage, current, and resistance. Test capacitors, resistors, and diodes for proper function. Inspect connections for loose wires or corrosion. Compare readings to the component’s specifications. This step confirms if parts work correctly.
Replacing Faulty Parts
Remove the defective component carefully. Match the replacement part with the original specifications. Install the new part securely to avoid future issues. Test the device again to ensure it works well. Proper replacement restores the device’s performance.
Safety Precautions
Safety is the foundation of troubleshooting electronic components. Ignoring precautions can lead to injury, damage to parts, or faulty results. Protecting yourself and your equipment ensures you can work confidently and effectively.
Handling Electrical Components
Always handle components with care. Avoid touching metal leads directly with your fingers to prevent static damage. Use an anti-static wrist strap or mat to ground yourself—this simple step can save expensive parts from being fried without you realizing it.
Keep your workspace clean and organized. A cluttered area increases the risk of accidents and losing tiny components. Have a dedicated container for screws and small parts to keep everything in order.
Preventing Short Circuits
Short circuits are a common cause of component failure. Double-check your connections before powering up. Ensure wires are properly insulated and not crossing unintentionally.
- Use heat shrink tubing or electrical tape on exposed wires.
- Keep metal tools away from live circuits.
- Disconnect power before making adjustments.
Have you ever powered a circuit only to see smoke or sparks? It’s a harsh reminder that a moment’s carelessness can ruin both your project and your day.
Using Personal Protective Equipment
Wearing personal protective equipment (PPE) is not optional. Safety glasses protect your eyes from accidental sparks and flying debris. Gloves can shield your hands from sharp edges and hot components.
Choose non-conductive gloves to avoid accidental shocks. If you work with solder, ensure good ventilation or wear a mask to prevent inhaling fumes. Your health matters just as much as your project’s success.
Tips For Effective Troubleshooting
Troubleshooting electronic components requires patience and a clear plan. Effective troubleshooting saves time and prevents repeated mistakes. Follow simple tips to improve your problem-solving skills and fix issues faster.
Documenting The Process
Write down each step you take during troubleshooting. Record the symptoms and tests you perform. Note the results and changes you observe. This helps track progress and avoid repeating steps. Clear notes assist in explaining issues to others if needed.
Staying Organized
Keep your workspace clean and tools ready. Sort components and parts into labeled containers. Use checklists to manage tasks and parts tested. Organization reduces confusion and speeds up the process. A neat area helps find tools and parts quickly.
Continuous Learning
Stay curious about new electronic components and techniques. Read manuals, guides, and PDF resources regularly. Practice with different circuits to gain experience. Join forums or groups to share knowledge and ask questions. Learning keeps skills sharp and troubleshooting efficient.
Resources And Further Reading
Finding the right resources can change how quickly and effectively you troubleshoot electronic components. Whether you’re a beginner or looking to sharpen your skills, having a solid library of materials at your fingertips makes a big difference. Below are some carefully chosen resources that can help you deepen your understanding and solve problems faster.
Recommended Books
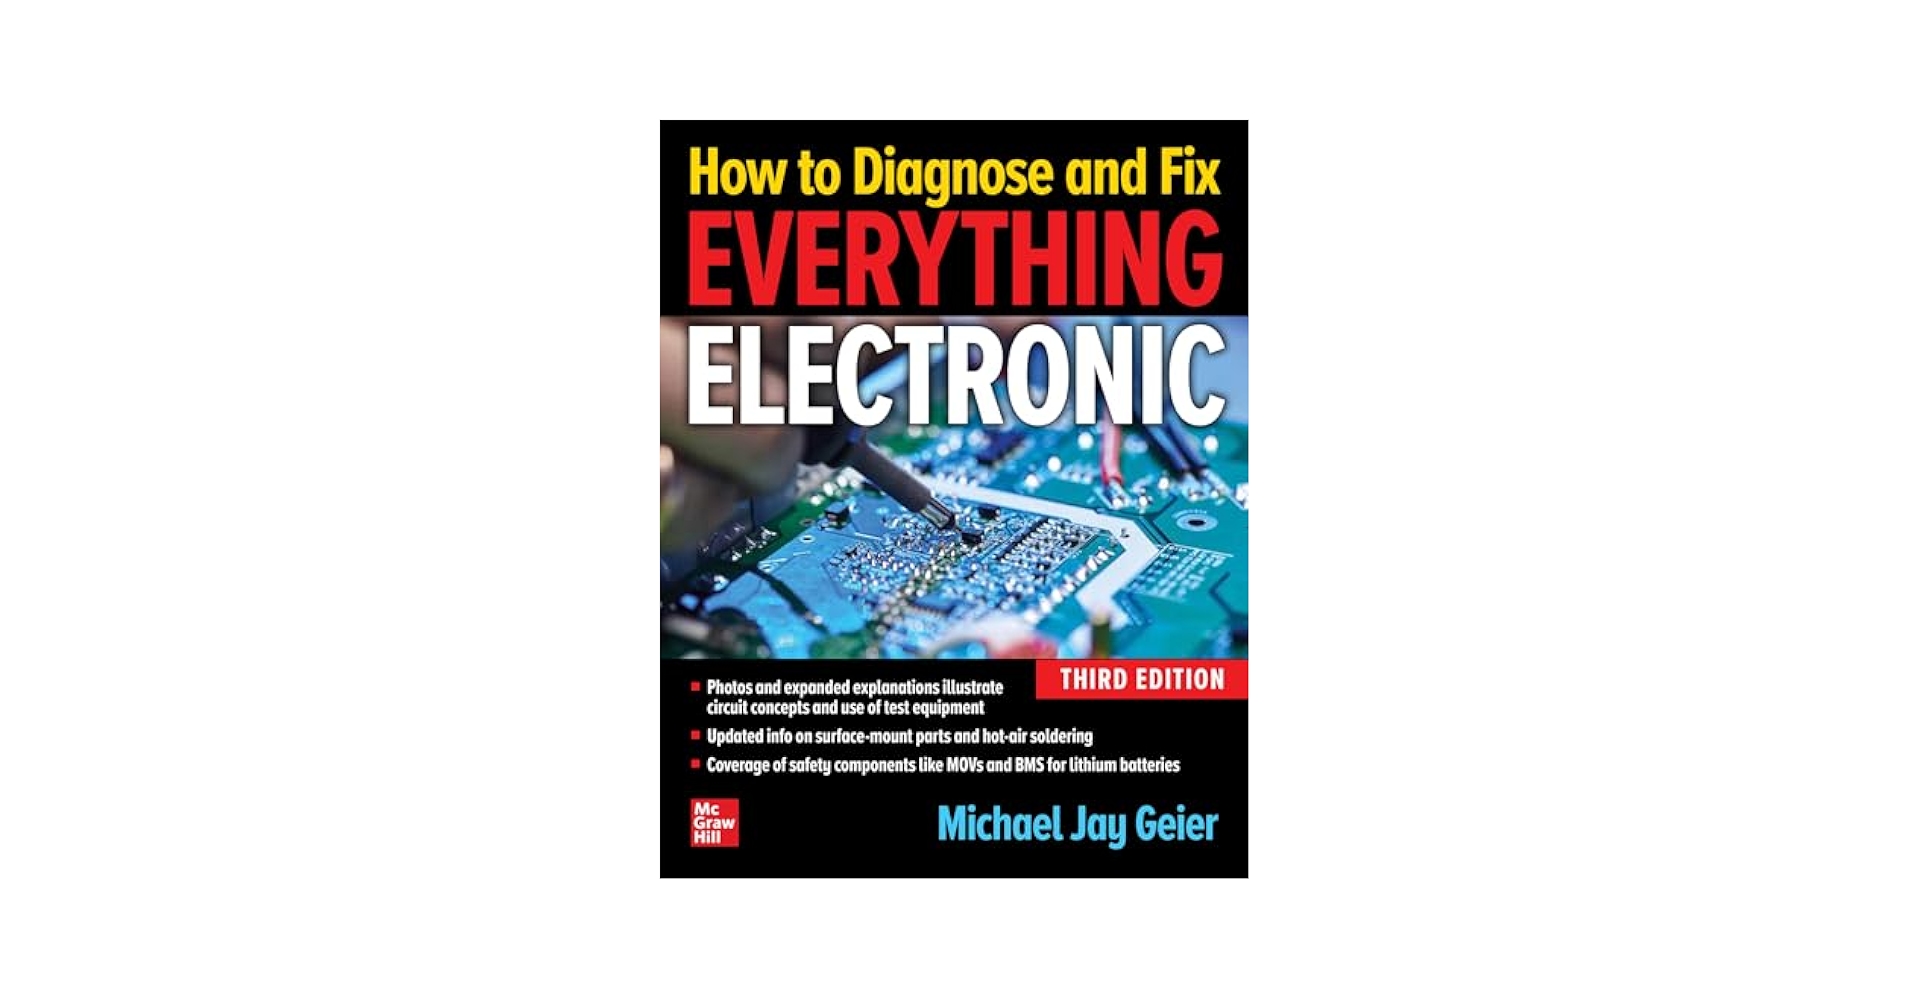
Books remain one of the best ways to get detailed and structured knowledge. Titles like “Troubleshooting Electronic Circuits”by Robert A. Pease offer clear explanations and practical tips drawn from real-world experience. Another great choice is “The Art of Electronics”by Paul Horowitz and Winfield Hill, which many professionals swear by for its thorough coverage of electronic concepts.
Don’t just read—try to apply what you learn from these books on actual circuits. Have you ever noticed how theory clicks after you see it in action? That’s the power of combining reading with practice.
Online Tutorials
Online tutorials provide quick, accessible lessons that fit your pace and style. Websites like All About Circuitsand Electronics Tutorialsoffer step-by-step guides and interactive simulations. These resources help you visualize circuit behavior and troubleshoot problems effectively.
Video platforms such as YouTube also host channels dedicated to electronics troubleshooting. Watching someone work through a problem can reveal subtle techniques that books might not cover. What kind of troubleshooting challenge do you want to master next?
Workshops And Courses
Hands-on learning through workshops and courses accelerates your troubleshooting skills. Local makerspaces or community colleges often run practical electronics classes where you can work directly with components. Online platforms like Coursera and Udemy offer structured courses, sometimes taught by industry experts, that guide you from basics to advanced troubleshooting.
Joining a workshop also connects you with a community of learners and mentors. Have you considered how discussing your troubleshooting issues with others might uncover new solutions? Sometimes, a fresh perspective is all you need to solve a stubborn problem.

Credit: www.electronicsandyou.com
Credit: www.searshomeservices.com
Frequently Asked Questions
What Is The Best Way To Troubleshoot Electronic Components?
The best way is to use a systematic approach. Start by visually inspecting the component. Then test with a multimeter or oscilloscope to identify faults quickly and safely.
How Can A Pdf Guide Help In Troubleshooting Electronics?
A PDF guide provides step-by-step instructions, diagrams, and troubleshooting tips. It is easy to access and follow, making complex repairs simpler and more efficient.
What Tools Are Essential For Troubleshooting Electronics?
Essential tools include a multimeter, soldering iron, oscilloscope, and screwdrivers. These tools help test, repair, and replace faulty electronic components accurately.
How Do I Identify Faulty Electronic Components?
Look for physical damage like burns or corrosion. Use a multimeter to check for continuity, resistance, or voltage irregularities to confirm faults.
Conclusion
Troubleshooting electronic components can feel tough at first. Start with simple checks like power and connections. Use the PDF guide to follow clear steps. Test parts one by one for best results. Keep tools handy and stay patient during testing.
Small fixes often solve big problems. With practice, you will spot issues faster. This guide helps you save time and avoid mistakes. Keep learning and practicing to improve your skills. Troubleshooting becomes easier with each attempt. Trust the process and stay curious.